
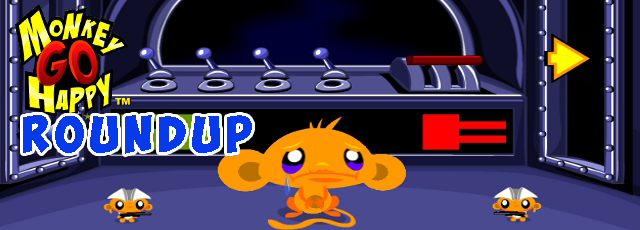
Monkey GO Happy Roundup 4
 If your primal instincts have been hungering lately, you'll be pleased to know that four new monkey GO Happy games await your appetite! Read on to learn more about this issue's stages.
You find our monkey in a castle landscape with candy floating in the sky. Encounter a teddy bear in a suit, a sad little kid, and more in this first stage.
1, 2, 3, 4, monkey is stuck at the door. 5, 6, 7, 8, for your help he does wait! Figure out how to pass through the doors and make the monkey GO happy!
Our monkey is in a strange room with an alien and several sets of cryptic marks on the wall. Solve the puzzle, or else it will be stuck in there forever, and certainly not very happy!
Now lend a hand (or paw?) around the farm: you need to gather ten nails to help a boy fix a mighty hole in his cabin, and a scythe to help the farmer outside with his crops.


Can't wait for the walkthrough.
Monkey GO Happy Roundup 4 (Stage 137–140)
Stage 137: Raspberry Trip
Exploration
This week, your first screen is a steep slope with a clue scratched in the wall and a house in the distance. Click each of the round bushes and the cloud over the house, then pick up the 6 pieces of candy and 2 Mini Monkeys around the screen.
Enter the house to find the same symbols scratched on the walls over a diamond-shaped hole. Pick up the candy in the lower right.
Climb down the hill where a car is waiting for you to leave (but you're not ready). Click the cloud and bushes, and pick up all 5 candy pieces and 2 Mini Monkeys.
Enter the mushroom-shaped house to find a wall decorated with letter and color clues and diamond-shaped spinny buttons. Pick up the piece of candy and chocolate ball from the corners.
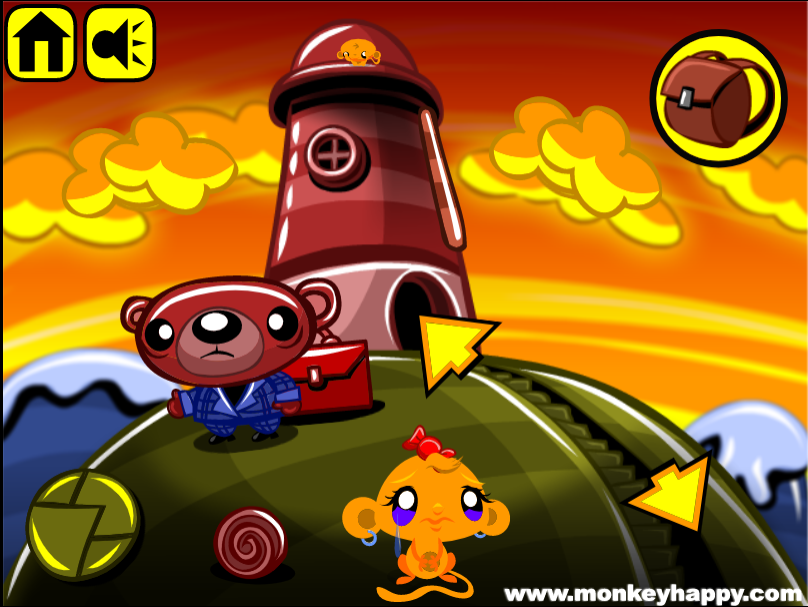
Climb the hill to the top to find a bear who's looking for twenty pieces of candy, and will trade you some sort of red bag for it. Pick up the candy stick leaning against the outside of the lighthouse, then click the clouds and bush, and then pick up all 5 candy pieces and 2 Mini Monkeys.
Enter the lighthouse to find a safe with six colored lights above six buttons, as well as a girl who's crying. Pick up the Mini Monkey at the lower left.
Sweeten
Combine the candy stick and chocolate ball (using the Combine Items button in your inventory), then give the chocolate ball on stick to the girl.
She cheers up and walks away so you can get a piece of candy.
Color coded
Use the color clue from the house at the base of the hill to unlock the safe in the lighthouse.
The circles at the bottom of the hill are colored (from left to right) pink, yellow, green, indigo (purple), red, gray.
The lighthouse clue indicates that you should click them in the order red, purple, yellow, green, pink, gray.
So click the 5th, 4th, 2nd, 3rd, 1st, 6th buttons from the left, and the safe opens up so you can take a square button and a Mini Monkey.
Not a taxi
Place the square button in the diamond-shaped hole in the house from the first screen, and then solve the letter puzzle.
The symbols marked C, A, B in the house halfway up the hill appear on the UR, LR, LL corners of the clue on the first screen.
So click the buttons in the mushroom house 1, 3, 2 times so that they are lit on those corners.
Then go back and press the square button, and the hatch opens so you can take the last piece of candy and a Mini Monkey.
Carry
Now that you have all 20 pieces of candy, use them on the bear. As he frolics around in them, pick up the suitcase beside him. (Wait, does he have another one back there?)
Go back to the car waiting for you, and use the suitcase on it. It drives around and ends the stage. Pick up the last Mini Monkey.
Your bonus clue from this stage is (circled dot) = 1.
Stage 138: Red Rooms
Exploration 1
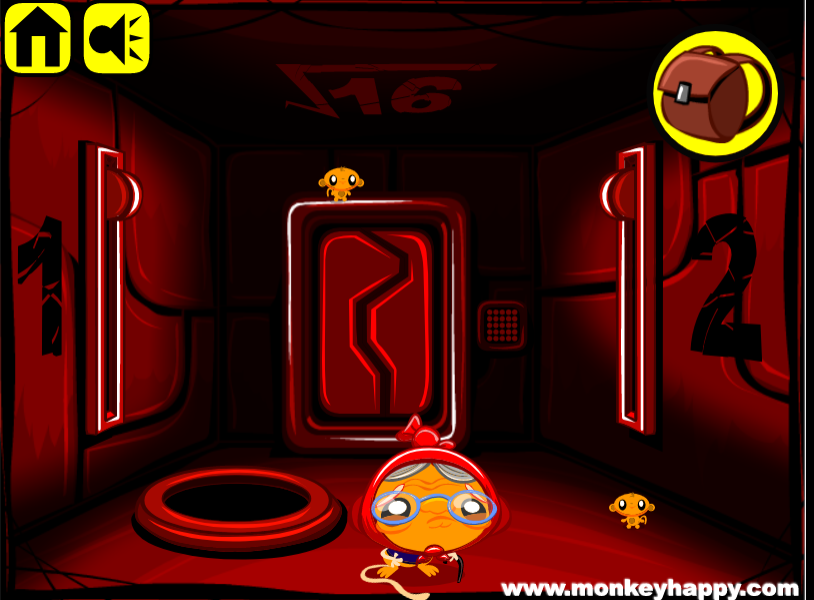
Just like in Stage 135, we have an entirely red futuristic aesthetic. This time, it's in some sort of ship with vertical sliders on the numbered walls. There's a round hole in the floor, a light panel with two buttons next to the door, and an unusual clue on the ceiling. Pick up the 2 Mini Monkeys from the ground.
Root
Use the ceiling clue to unlock the door.
The clue asks for the square root of 16, which is 4. This can be formed on the grid of lights as
A---B

A---A

ABBAA

----A

----B
if you click the buttons 5 and 7 times. (Each of the A and B patterns starts partially offscreen, and clicking the buttons scrolls them across the screen into position.)
When you have the pattern set up, click the big button to open the door.
Exploration 2
This room is very similar to the previous one, except the wall numbers are different, the ceiling clue now shows four scratched circles, the door panel has four buttons with a spinner in the center, and there's now a button half in the room along with 2 Mini Monkeys.
Spinner
The ceiling clue merely tells you to turn on each button on the door panel.
But you might have some difficulty doing so.
The buttons on the panel only turn on when the spinning arrow points at them.
So take your time, and time your clicks, and click all four buttons at the right time to turn them on. Once they're all lit up, click the big button to open the door.
Exploration 3
Once again, the wall numbers are different, the ceiling clue now shows an unusual shape, the door panel has four buttons but arranged in a diamond, and the room has a antenna bit in addition to 2 Mini Monkeys.
Rounded
Once again, use the clue from the ceiling to unlock the door panel.
The curves on the top and bottom of the clue point outwards and those on the left and right point inwards.
So click the buttons (clockwise from top) 4, 3, 2, 1 times, and then the big button to open the door.
Exploration 4
The wall numbers are different again. This time, the ceiling clue is just two rows of digits in three groups, and there's no panel to unlock the door, which has a hole in it instead. Pick up the other button half and 2 Mini Monkeys.
Eight digits
Combine the button halves and use the finished button on the door.
To unlock it, you need to set the wall sliders according to the ceiling clue.
The digits under 1, 2, 3, … 7, 8 are 2, 3, 2, 4, 3, 2, 4, 3, which means that the wall sliders should be set to
Room 4: 4, 3

Room 3: 3, 2

Room 2: 3, 4

Room 1: 2, 3
Click the 8, 5, 2 sliders twice, the 1, 6, 3 sliders once and the 4, 7 sliders thrice. Once you have everything set up, you can open the last door to get another antenna bit and a Mini Monkey.
Ending
Combine the antenna bits and use the finished antenna on the hole in the first room. Pick up the last Mini Monkey.
Bonus from this stage: (squared dot) = 5.
Stage 139: Alien Abode
Exploration
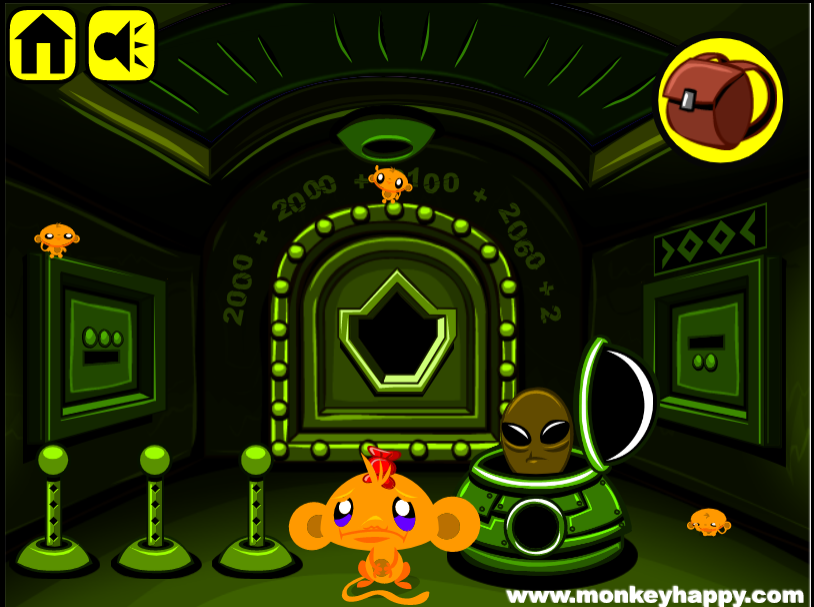
So many holes to fill! A hole in the ceiling, an irregular hole in the door, a hole in the alien's ship (looks critical), several tiny holes in the pegs on the left. And of course, the safes in the left and right walls with three and two buttons probably open up to holes. There's also a digit clue above the door which includes several zeros, a geometric clue above the right safe which includes some diamonds, and some parallel scratches on the ceiling. Once you're done looking at all those things, pick up the 3 Mini Monkeys around the room.
Accumulate
Use the clue above the door to unlock the three-button safe.
You've seen this in the previous stage: each button scrolls a pattern across the display, and you can click them 4, 7, 8 times to assemble the total of the numbers in the clue, which is 8162:
AAA-A-AAA-AAA

B-B-B-B-----B

BBB-B-BBB-BBB

C-C-C-C-C-C--

CCC-C-CCC-CCC
Once that is set up, press the big button to open the safe and pick up a key bit and a Mini Monkey in front of a striped pattern.
Opposition
Use the clue above the two-button safe to unlock it.
The clue splits into > and < patterns which point in the RLRLRL directions.
So click those buttons, then open the safe to get the other key bit and a Mini Monkey in front of another striped pattern.
VII
Combine the key bits to form a key that fits in the door, then use the clues from the striped patterns to unlock it.
The stripes on the left and right safes come in groups of 2, 2, 3, so the pegs on the left need to be lowered until they show 2, 2, 3 holes.
Click them 2, 2, 1 times, then open the door to the next room.
Exploration 2
No, those aren't holes, those are eight lights around the outside of a safe with a rectangular slot. The holes are on the left and right walls, which hold a lever and a Mini Monkey and an uncharged power cell and another Mini Monkey. Pick up a third Mini Monkey from the safe.
Arch
Use the lever on the safe, and then use a clue from the previous room to unlock it.
The sum from the previous room is 8162, so click the 8th, 1st, 6th, 2nd lights from the left (in any order) to turn them on.
Then pull the lever to open a safe, and take the green peg and Mini Monkey from inside.
Solar
Use the peg on the ceiling, and then adjust a puzzle from this room to unlock a nice view.
The ceiling has twelve scratches in three groups of four, so return each of the tall pegs to its highest position (2, 2, 3 more clicks).
Then push the peg into the ceiling to open up the skylight, where a charger on the right side is fully powered up.
Battery
Combine the charger and cell, and place the charged cell in the alien ship. It hovers up, so take the last Mini Monkey from the floor.
Bonus from this stage: (triangled dot) = 1.
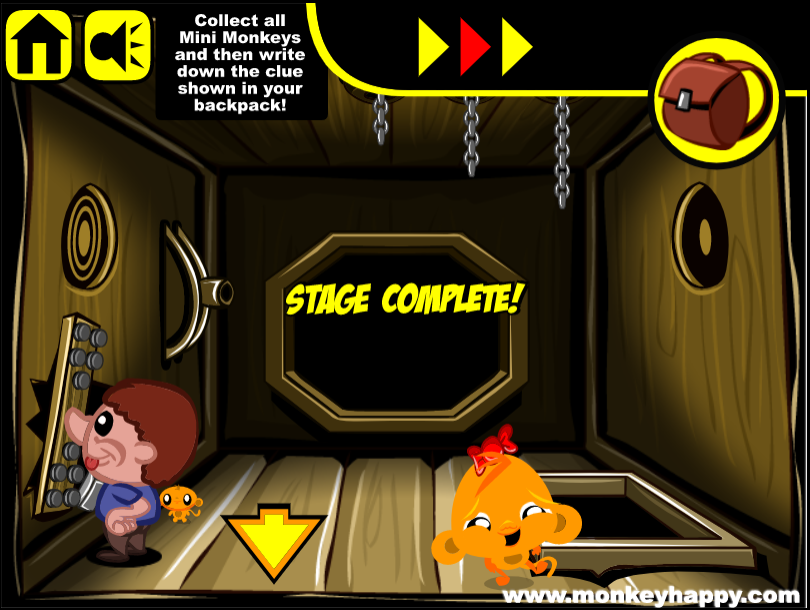
Stage 140: Fixer Upper
Exploration
A farmer stands next to his field (and some scratches on the floor) and asks for a scythe. Next to him, a house with a thatched roof has a clue printed right above the door, and a log resting to the right of it, and a stubborn pile of foliage in front of the log. Click the rough spots on the roof to move them aside, then pick up all 4 nails and 2 Mini Monkeys.
Entering the house, you see circular holes on all three walls, but the ones on the left and right wall are actually buttons that you can click to make them display rings. The real hole on the left wall is being covered by a short-haired boy who wants a hammer and ten nails so he can completely secure his plank over it. There's also a lever slot on the left wall, four chains hanging from the ceiling which you can lower by clicking, and a trapdoor in the floor with a triangular marking. Pick up all the tools: a hammer from the ground and a scythe, saw and spade from the right wall, then pick up 2 nails and 2 Mini Monkeys.
Utility
Give the scythe to the farmer, who unveils a nail and a Mini Monkey in his field.
Also use the saw on the log, and take a small log piece and a Mini Monkey.
Also use the spade on the leaf pile to dig up another nail and Mini Monkey.
Forward
Use the hammer on the lever slot, and then use the clue from the exterior of the house to unlock the trapdoor inside.
The triangle clue outside appears over columns of circles with 4, 3, 2, 2 of the circles colored in the columns.
So adjust the chains until they are in the 4th, 3rd, 2nd, 2nd positions from the top (by clicking them 3, 2, 1, 1 times; the first chain should be all the way down).
Then pull the (hammer) lever to open the trapdoor, which has a nail and Mini Monkey beneath.
Pick up the hammer again when you're done.
Leftward
Use the log slice on the back wall, then use the clue in front of the farmer to unlock the back wall.
Click the holes (buttons) on the left and right wall 3 and 1 times, and match the triangle in the clue by moving the chains to the 1st, 2nd, 3rd, 4th positions from the top (with 1 highest and 4 lowest). Just like the picture!
Open up the back wall to get the last nail and a Mini Monkey.
Then combine the hammer and nails, and give them all to the boy, who hammers the plank in really fast. The last Mini Monkey appears beside him.
Bonus from this stage: (dotted flag) = 1. Click through to the bonus stage!
Bonus Stage 35
Combining the clues from all four stages, you get the code 1511. So enter that in the box and open it!
Update