

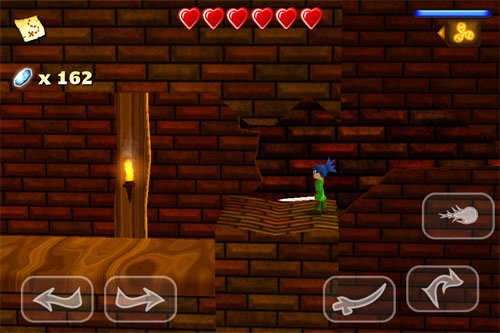
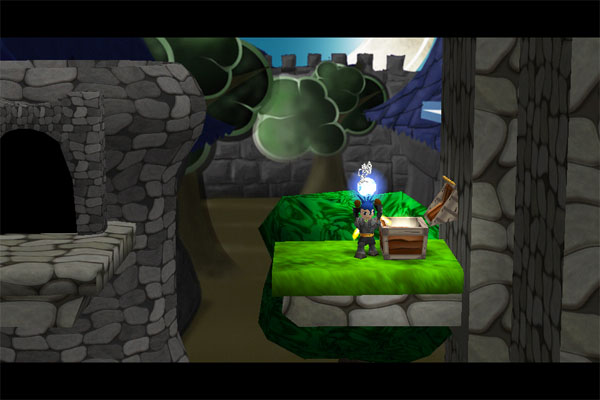
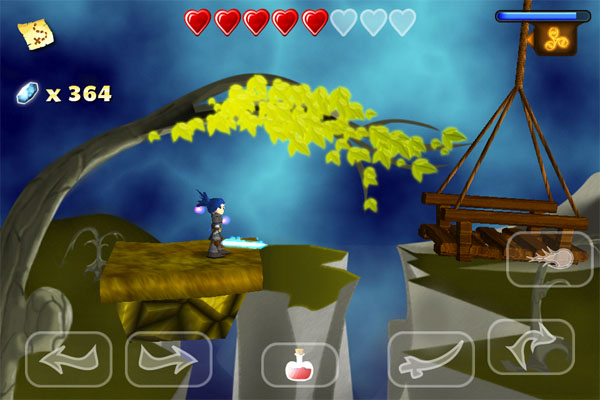
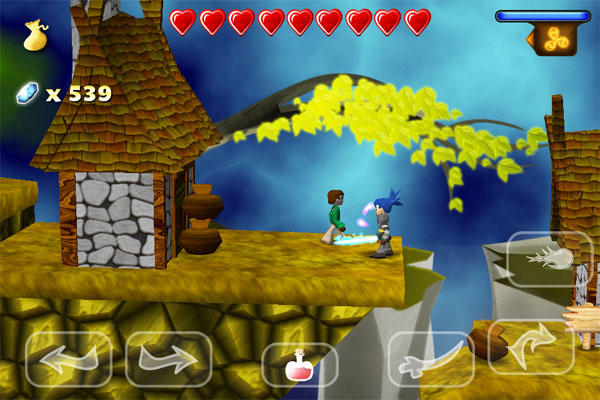
![]() As you pass by, the village elder's words of encouragement still ringing in your ears, a citizen calls after you, warning against the lower road. Who knows what malefic danger lurks there? Or anywhere else for that matter? With your majestic blue hair and green jerkin, you present quite a picture to your enemies (or so you might hope), but this is Swordigo, you are the hero, and nobody can kill the hero in his own game. Er... right?
As you pass by, the village elder's words of encouragement still ringing in your ears, a citizen calls after you, warning against the lower road. Who knows what malefic danger lurks there? Or anywhere else for that matter? With your majestic blue hair and green jerkin, you present quite a picture to your enemies (or so you might hope), but this is Swordigo, you are the hero, and nobody can kill the hero in his own game. Er... right?
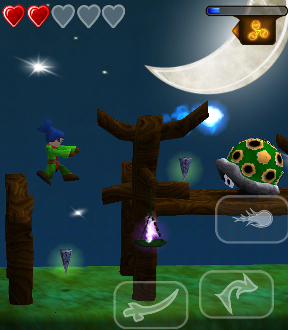
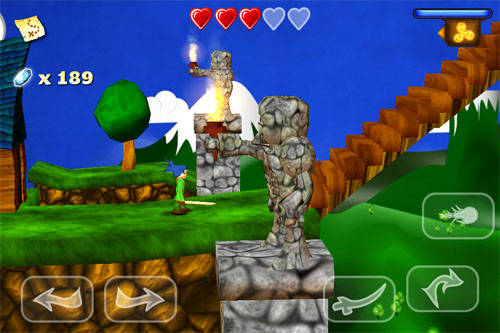
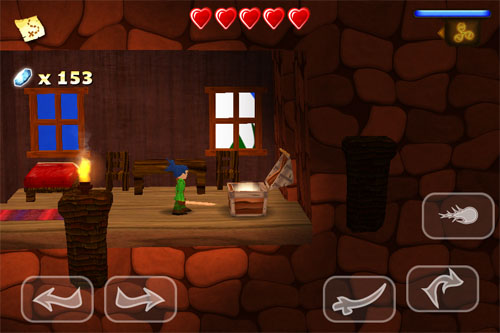
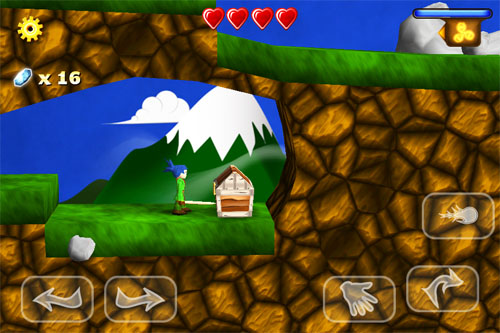
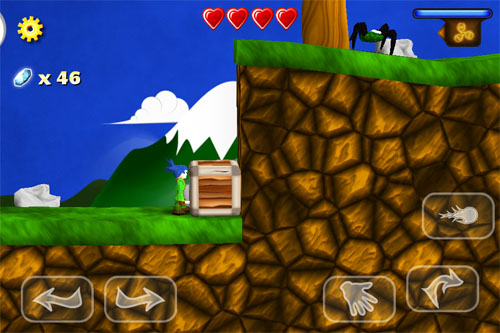
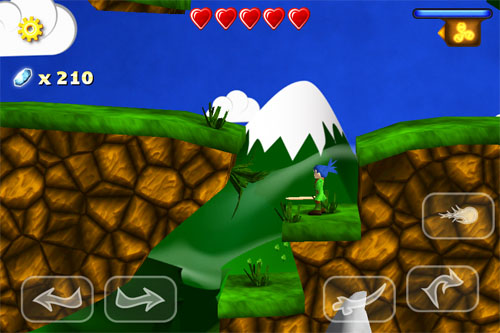
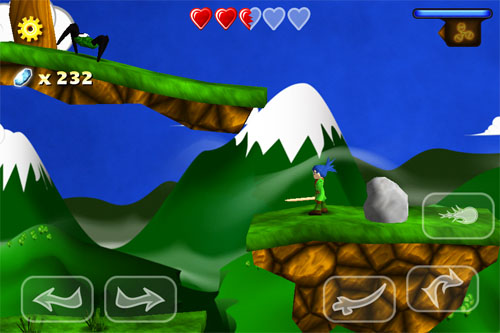
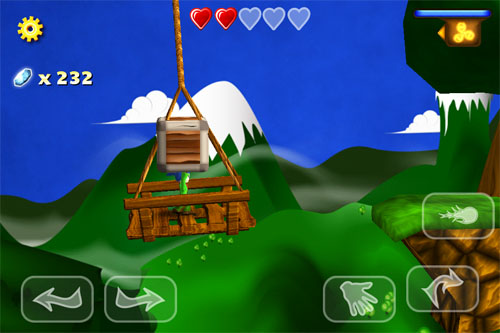
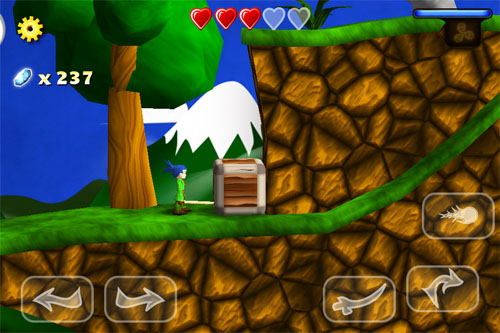
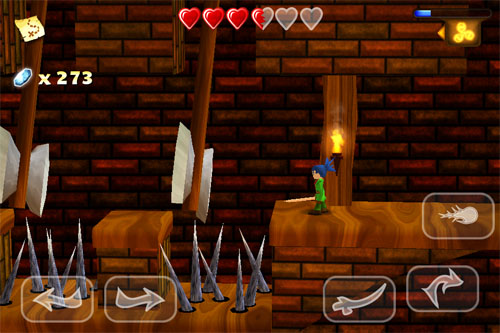
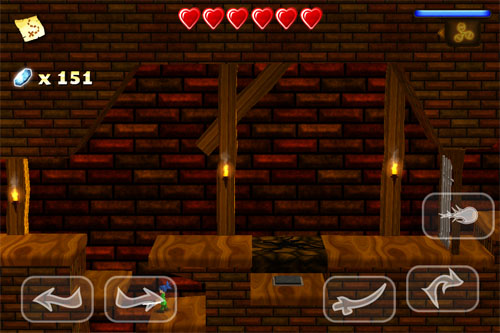
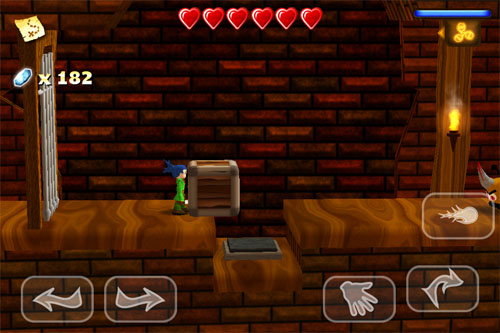
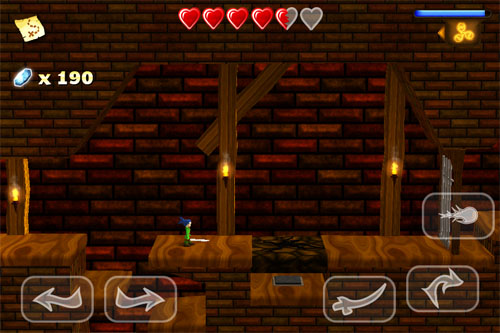
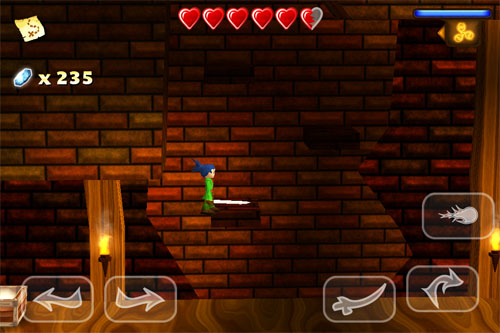
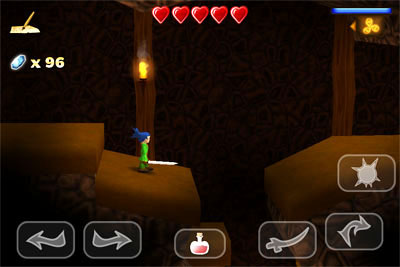
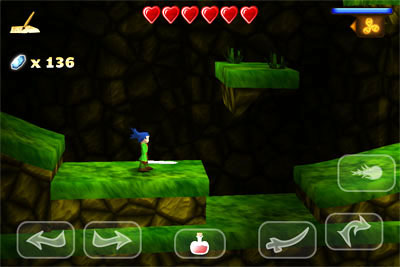
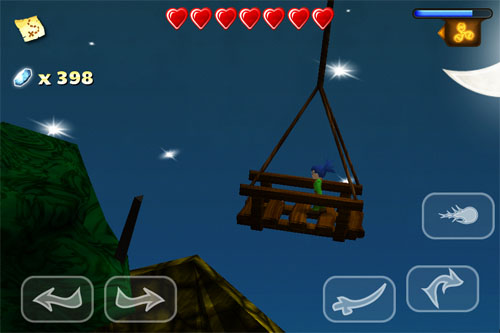
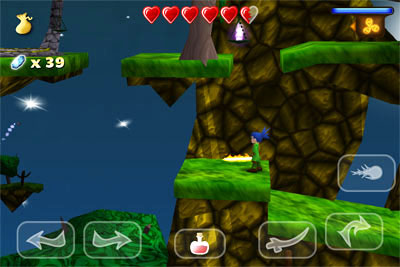
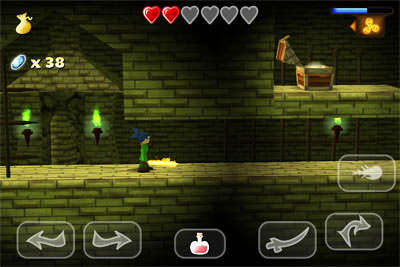
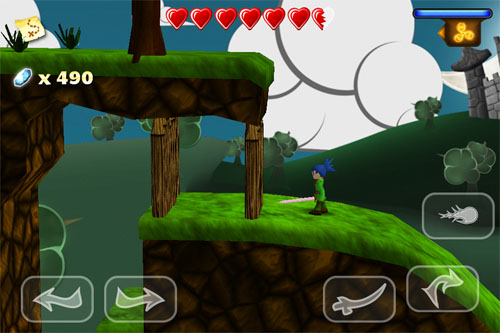
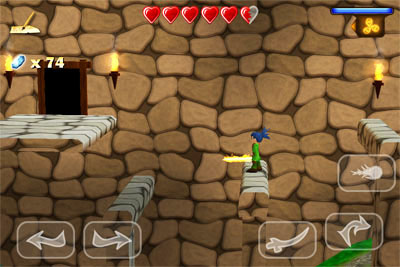
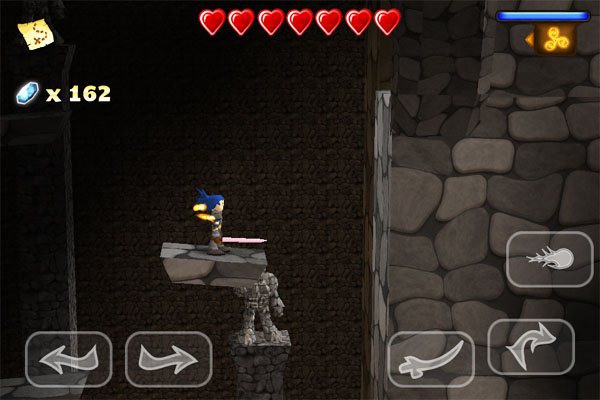
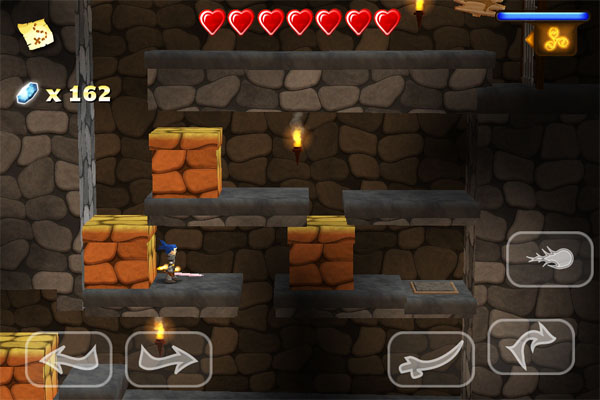
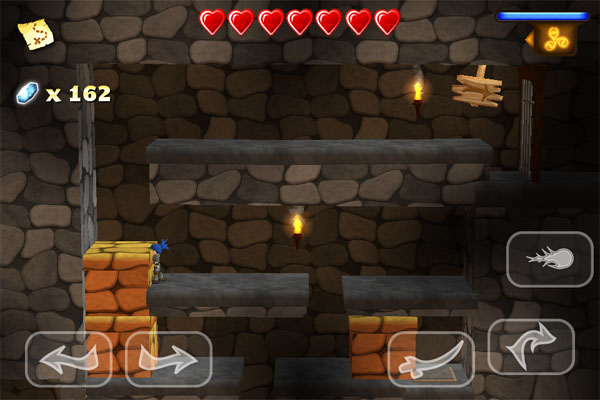
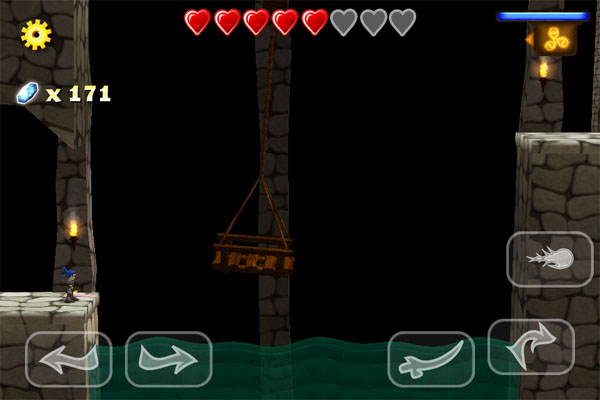
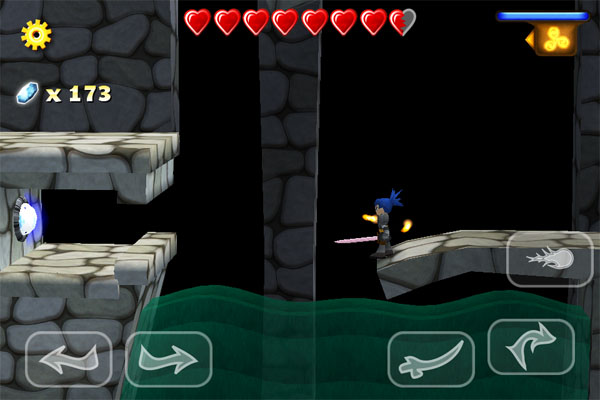
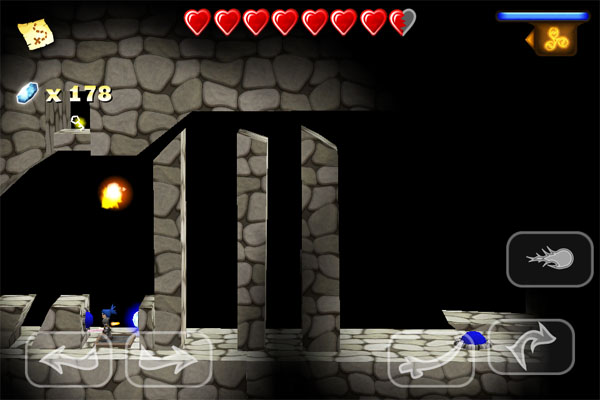
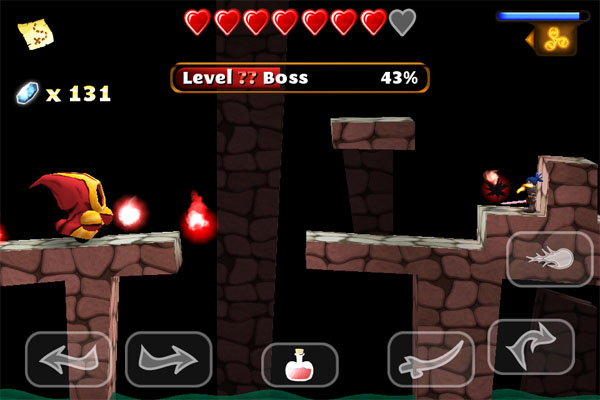
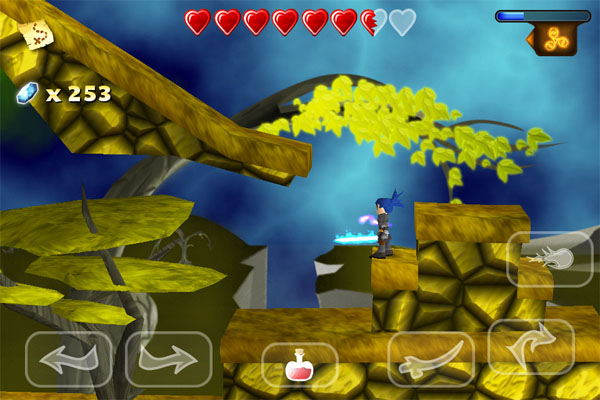
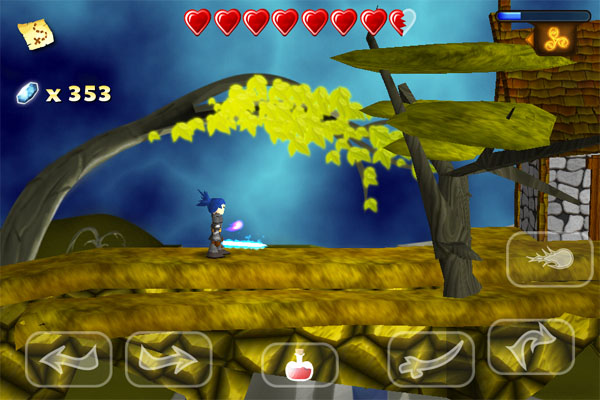
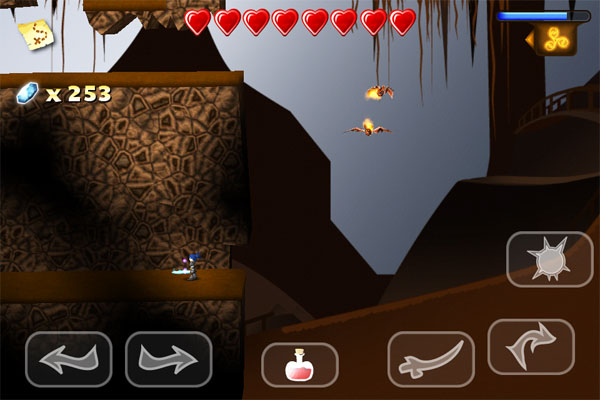
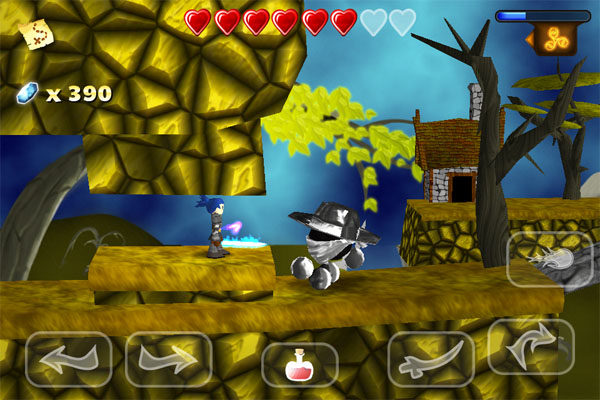
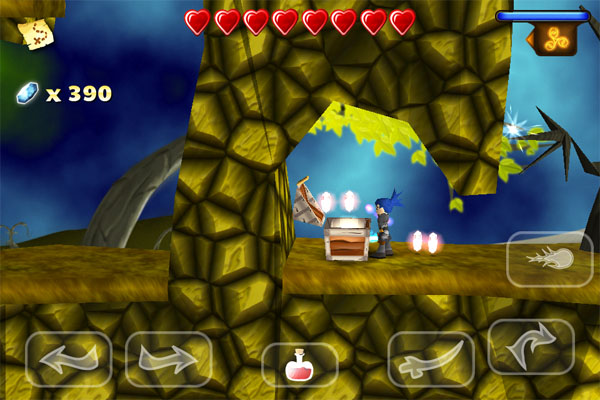
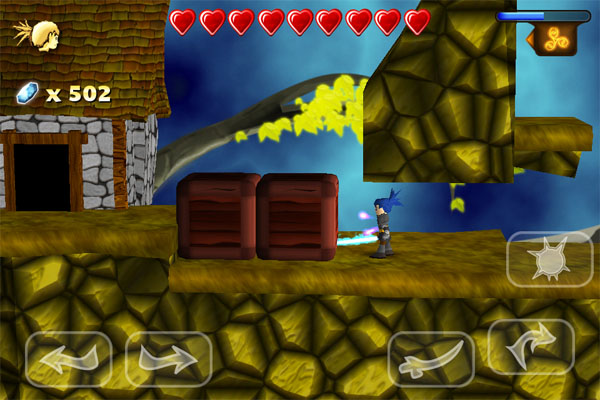
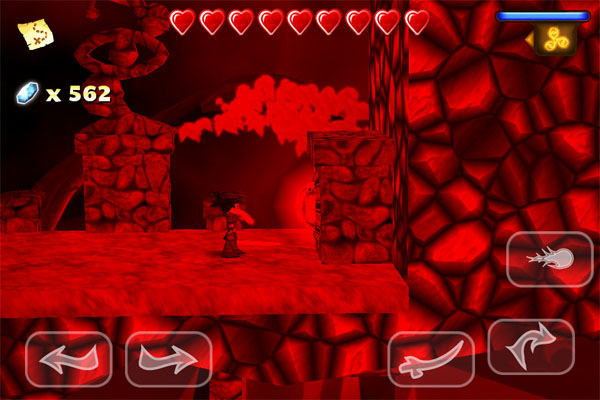
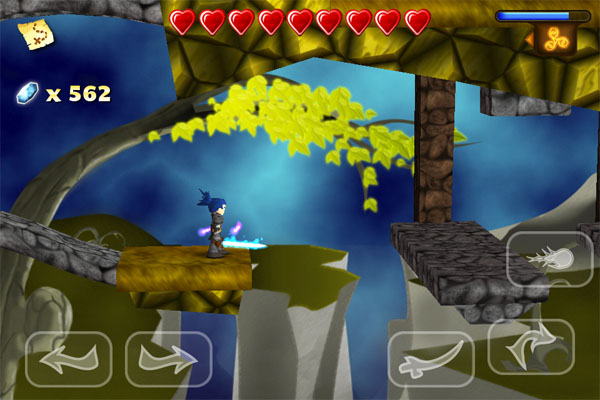
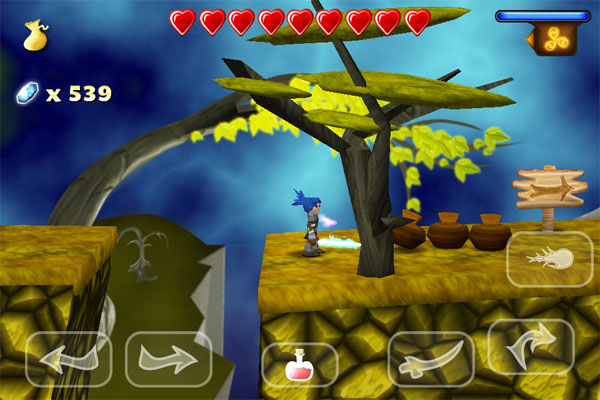
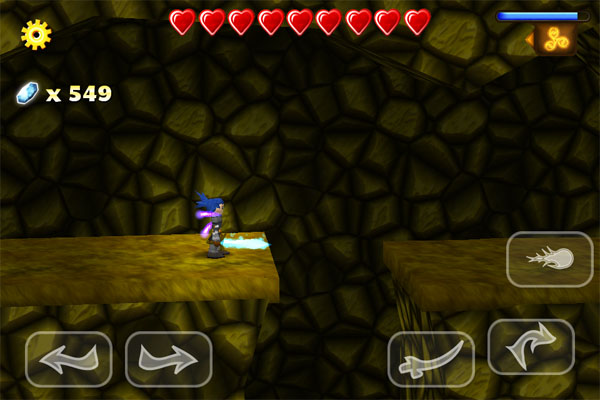
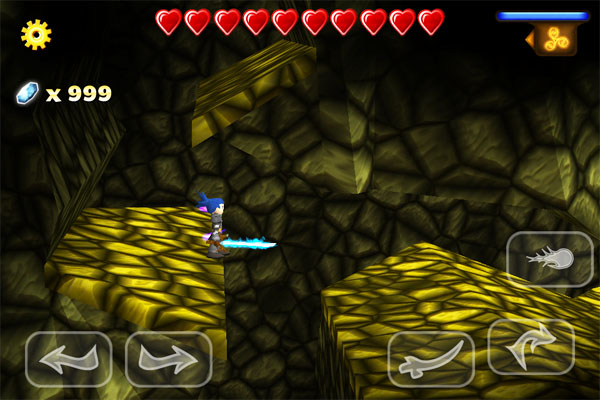
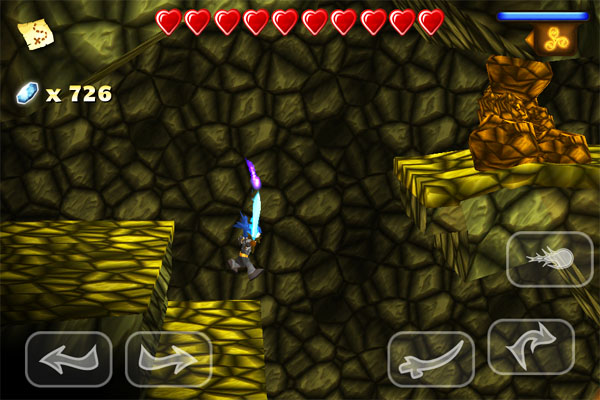
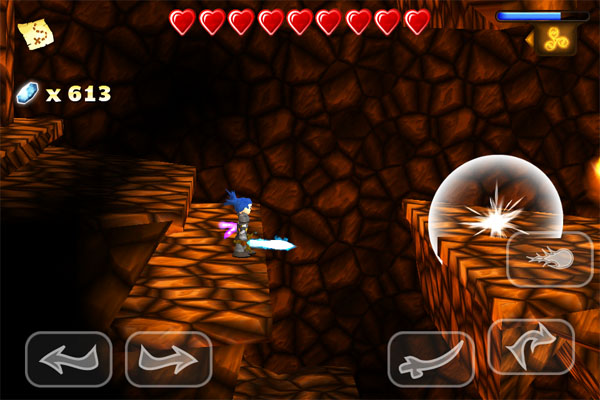
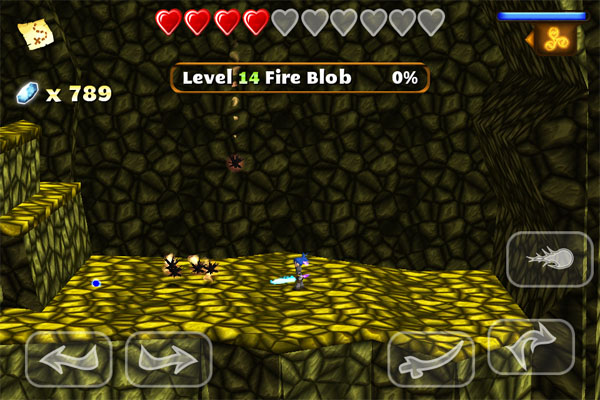
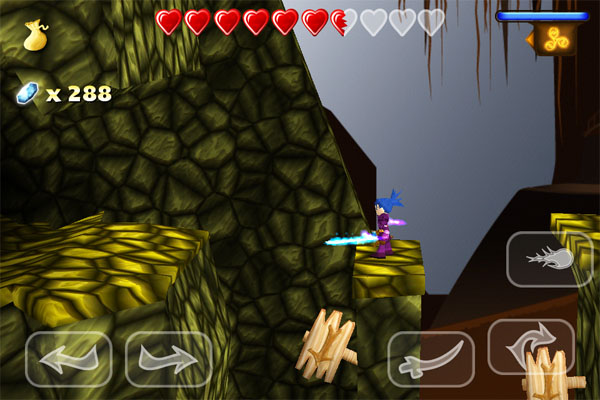
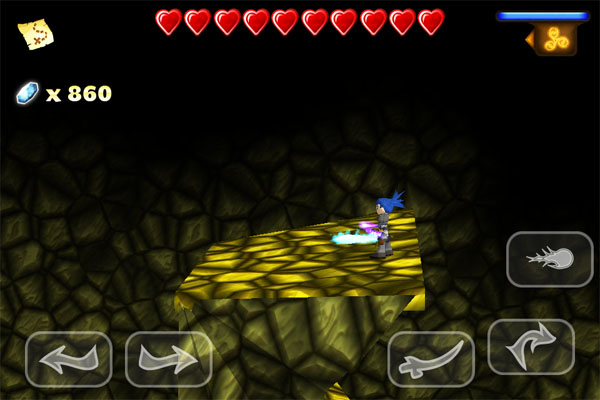
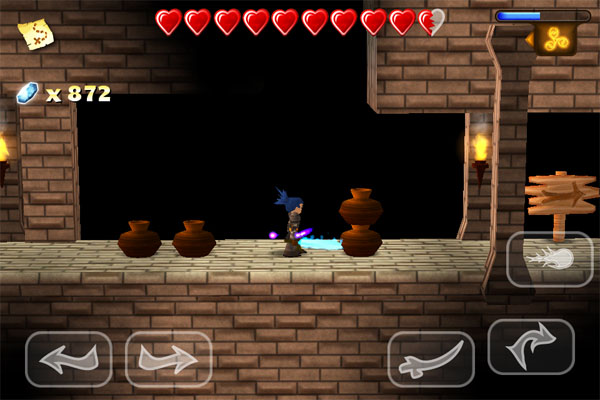
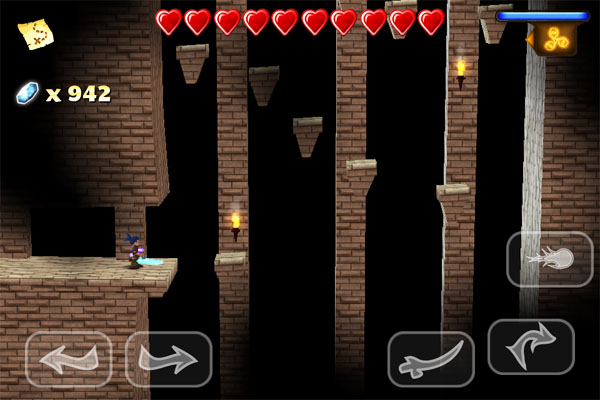
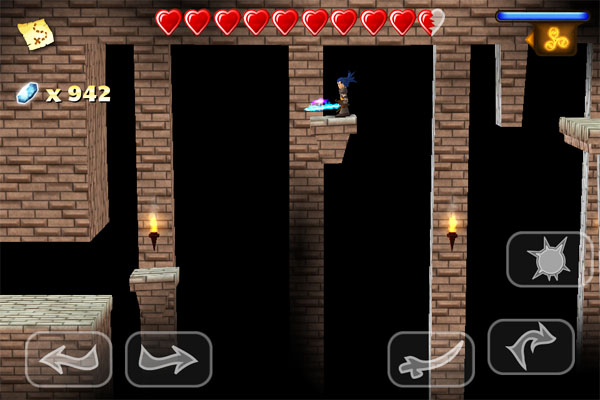
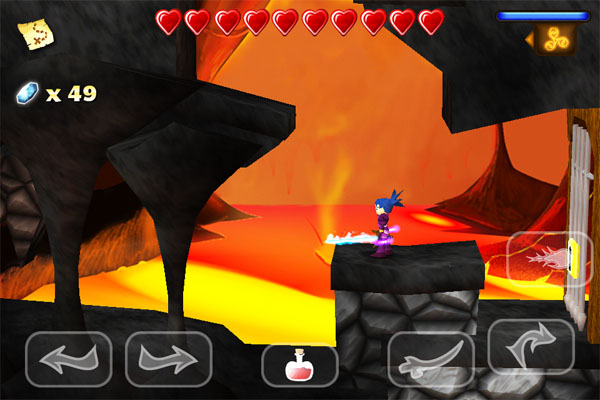
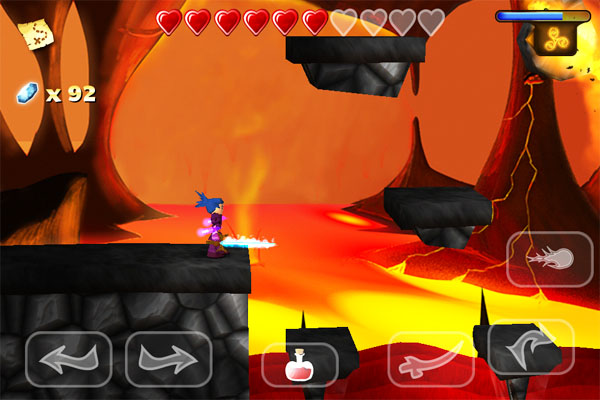
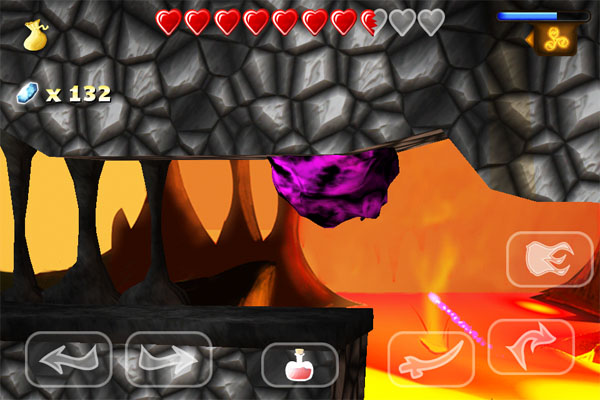
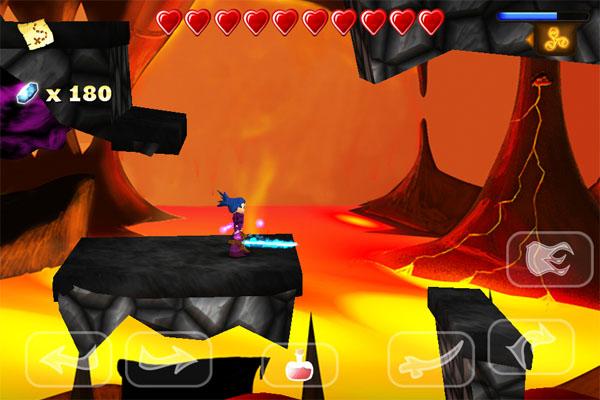
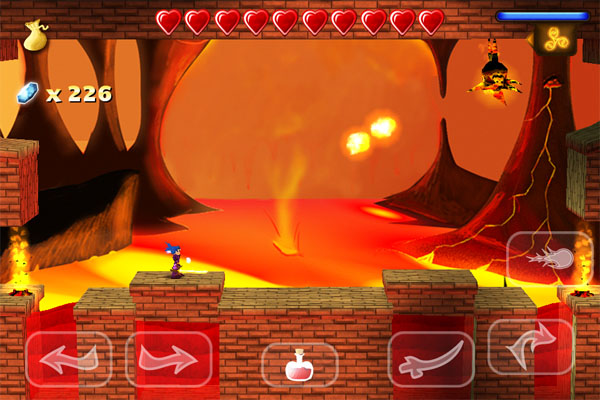
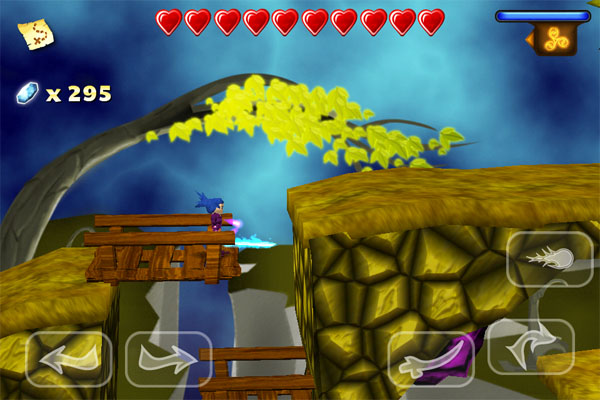
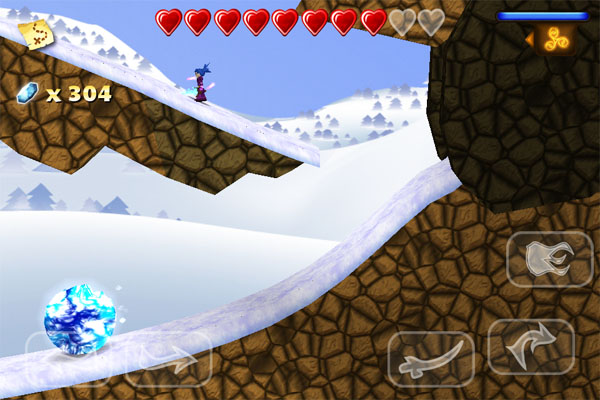
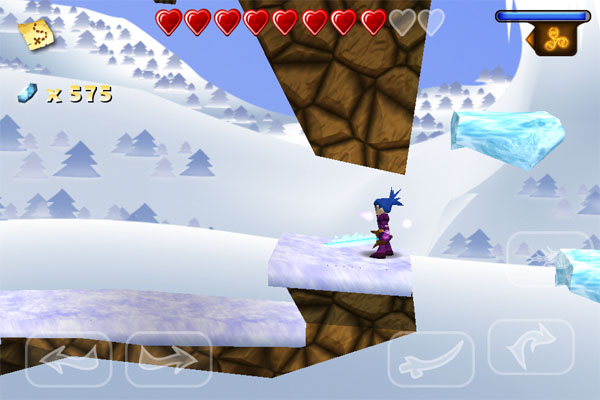
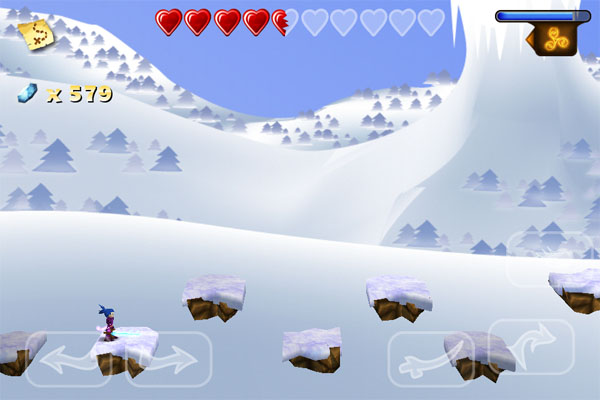
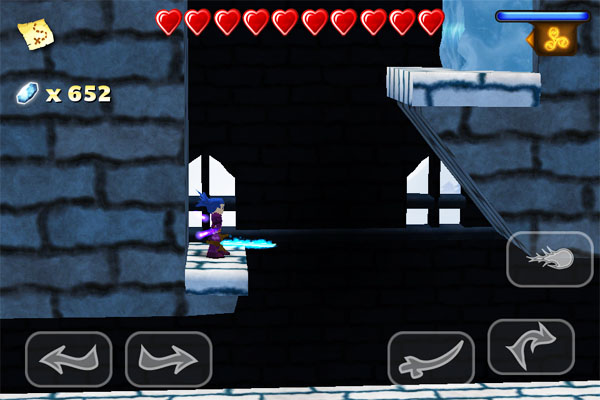
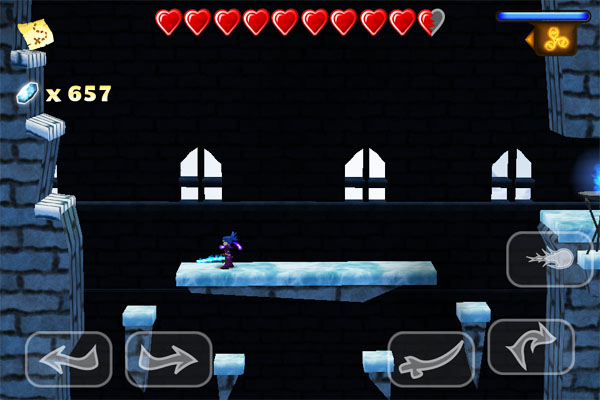
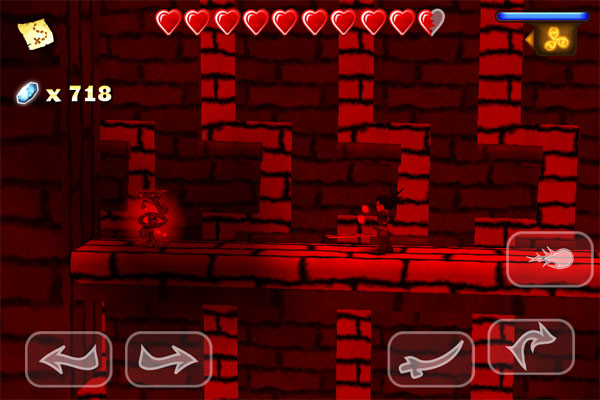
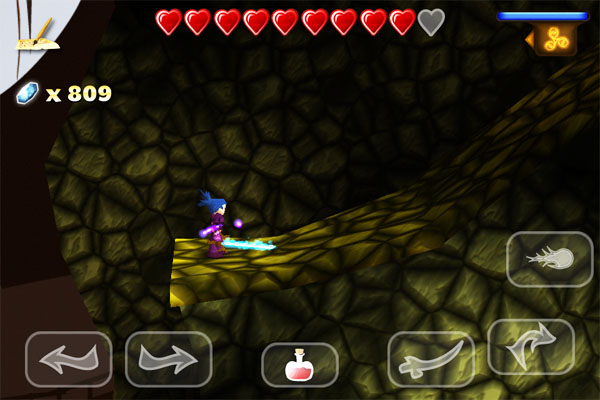
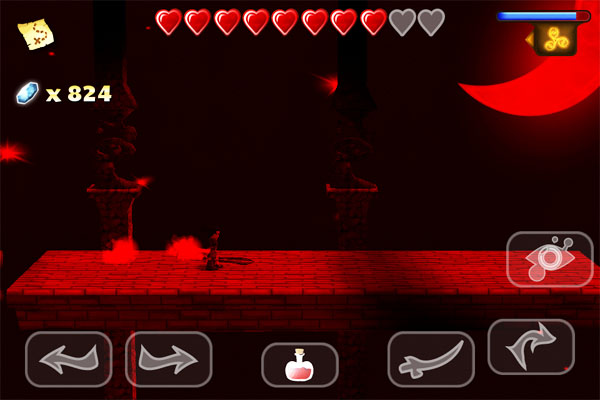
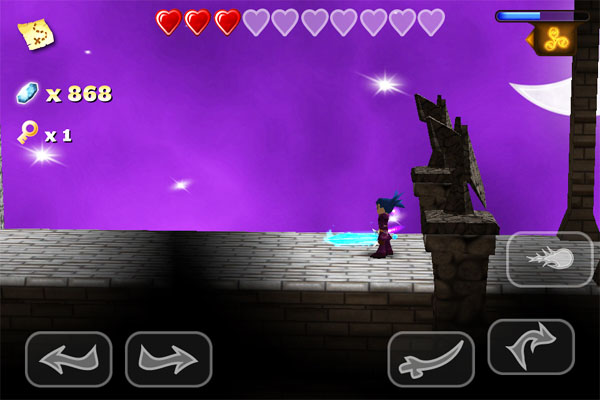
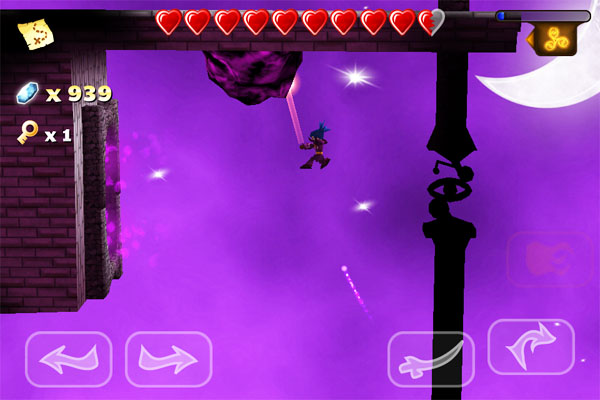
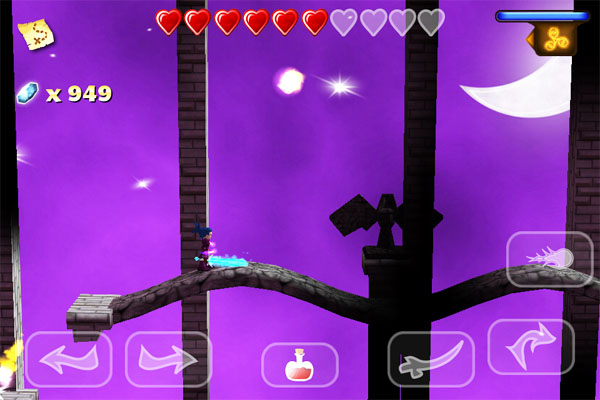
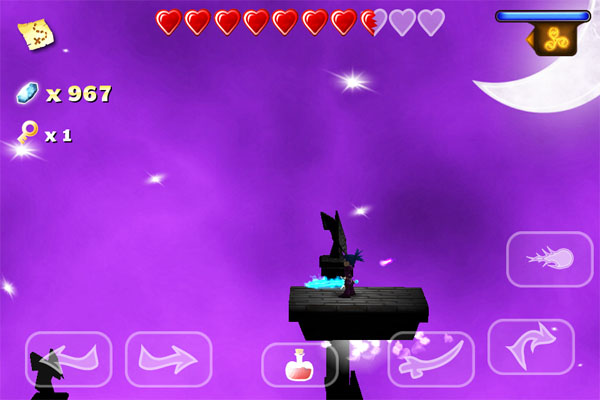
 Putting all worries aside, continue on your way in Touch Foo's nostalgia-inducing RPG platform adventure using the supremely handy and very well functioning on screen controls. As your left thumb adroitly negotiates left and right movements, employ your right to hack, slash, jump and cast spells. As you rise in level and acquire a wealth of soul shards—earned in battle or from cutting down grass (sound familiar?)—your character customization opportunities also increase. Health is monitored via red red hearts on top of the screen while a blue mana bar traces your magical abilities. If all this seems like homage to popular platformers of days gone by, it probably is!
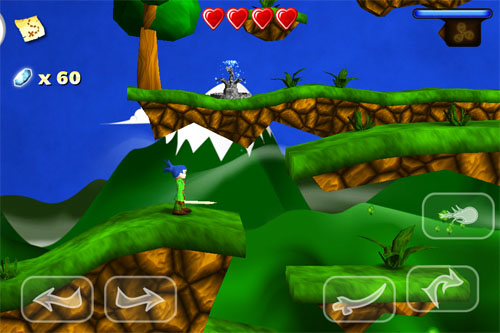
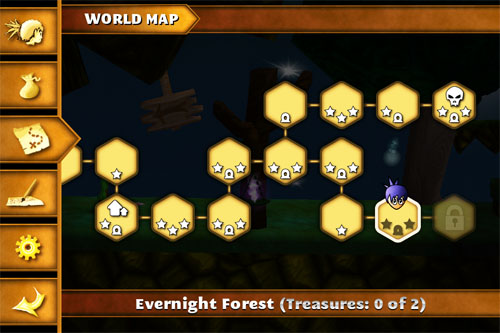
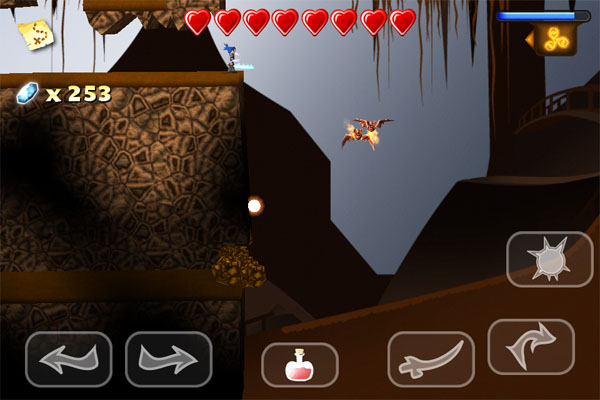
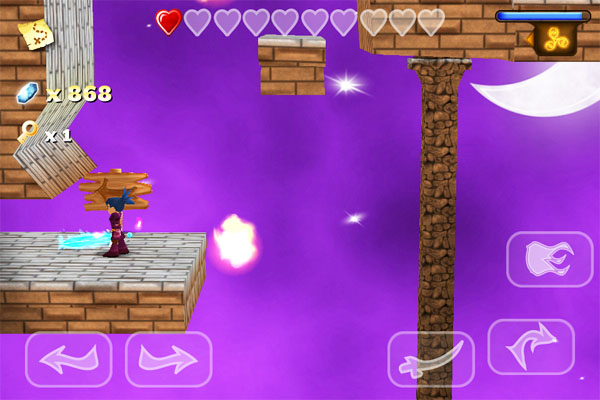
Analysis: The road starts out mellow, yet soon dexterity and practiced maneuvers are called for. This multi-quest journey is long, more than ten hours to reach every corner of the complex map and richly varied landscapes, including a number of platforming puzzles. The deadly fail from a missed move is inevitable from time to time, but teleporting portals/checkpoints lessen the sting. Your efforts to trudge on are repaid with the delight of boss battles, treasure chests, weapon and armor upgrades, and spelunking through intricate caverns.
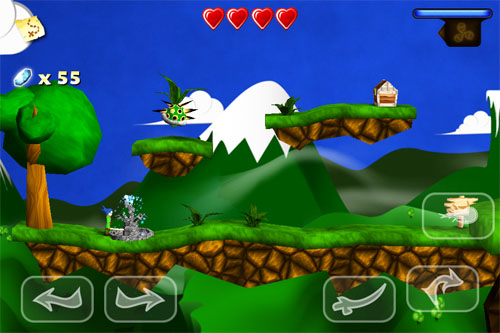
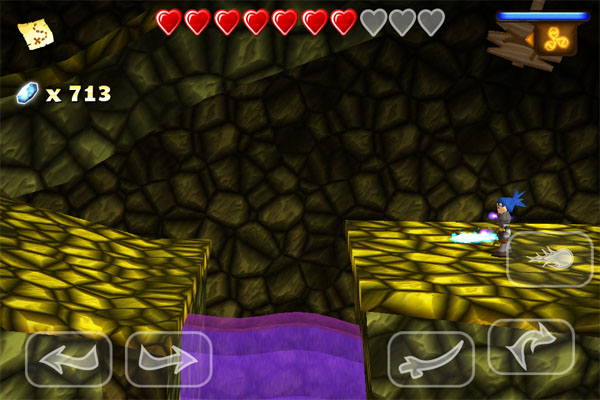
 Responsive controls aid well-timed jump maneuvers through serpentine cave passages and spell-triggered switches give another way to burn off magic energy, something you'll want to conserve for boss battles. Sword combat with tougher baddies and bosses is less reliable. Combos are not an option and mobility is limited during melee fights. If you're looking for an easier battle, devote time to grinding and leveling up your magic ranks to best use all four spells.
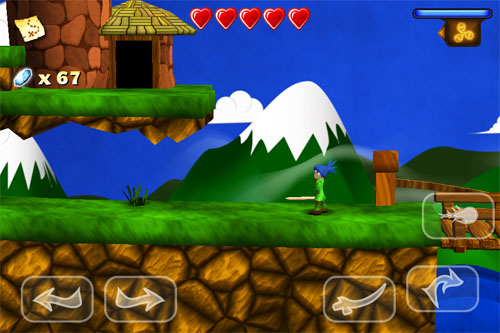
Touch Foo, creators of the equally charming Soosiz, knows how to please with elements that matter most in a mobile game. Some games are all gorgeous retina displays but awkward controls. Swordigo's on screen button controls work very well, on the other hand. You may have occasion to slip up once or twice at first but soon the intuitive interface transports you back to an earlier time, happily playing Zelda on your Game Boy. Swordigo has beautiful environments to behold as well, especially when seen through the warm tide of nostalgia and the immense enjoyment of hack and slash platforming. It's the quintessential epic adventure. Can you, the hero, succeed in this quest? There's only one way to find out!
NOTE: This game was played and reviewed on an iPhone 4S. Game was available in the North American market at the time of publication, but may not be available in other territories. Please see individual app market pages for purchasing info.


Walkthrough Guide
(Please allow page to fully load for spoiler tags to be functional.)
Swordigo Walkthrough
Part 1, General Info, Cairnwood Village to the Overseer's Lair
General Information
The controls are touch based and, in order of appearance from left to right, are left, right and jump.
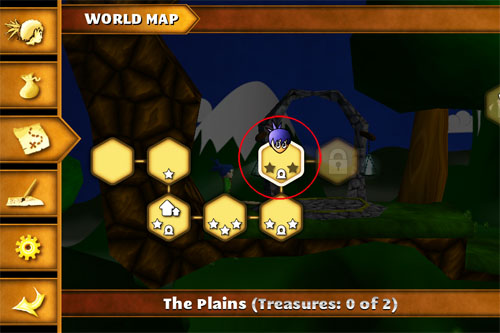
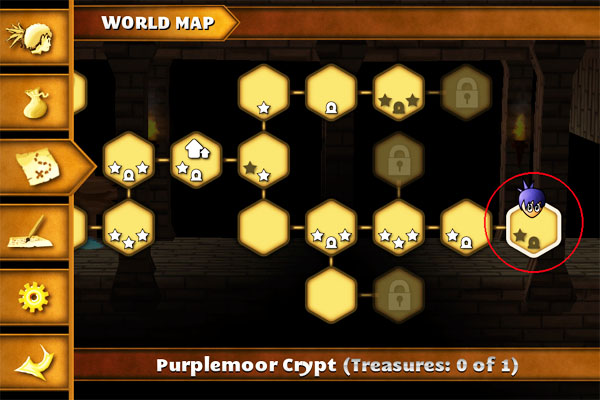
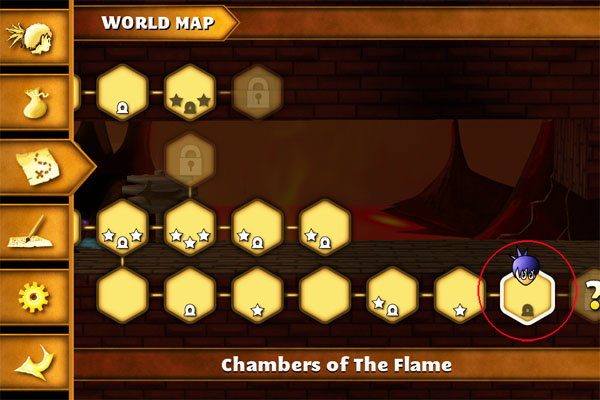
To view the in-game menu tap the icon in the upper left corner. It may appear as a gear, a map, a moneybag, etc. depending on what category has been selected within this menu.
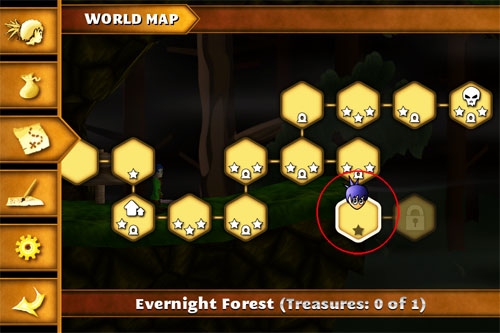
From the in-game menu you can view your character info, inventory, world map, quest list, and options.
Your options include music and effects volume, control configuration, enabling 'OpenFeint', achievements and leader boards.
The hearts (appearing in the top center of the main screen) represent your life/health. You begin the game with 3.
The soul shard (appearing on the left of the main screen under the in-game menu icon) represents currency. You begin with none.
Naming Your Character:
Start a game.
Tap the in-game menu icon (upper left corner)
Tap options (gear icon)
Tap 'Quit to Menu'
Tap 'Start'
Tap 'Set Name' in the player box.
Type the name.
Tap 'Set Name'
Tap 'Start' to re-enter the game with your named character.
General Game Play:
To move, tap and hold the directional arrow in the direction in which you want to move.
Double tap the arrows to move faster.
To jump, tap the jump icon. While in the air, tap the jump icon again to perform a double jump.
To perform a higher jump, hold the jump icon down longer.
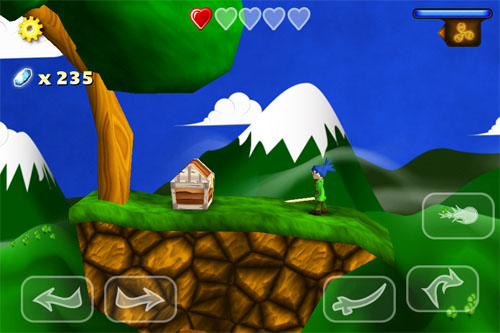
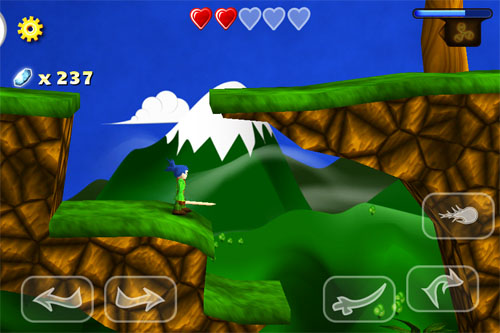
The sword icon will appear to the left of the jump icon once you have received your first weapon. To use your weapon, tap the sword icon.
The magic spell icon will appear above the jump icon once you have received your first magic spell. To use your magic spell, tap the magic spell icon.
To change your magic spell, tap the icon in the upper right corner (under the blue 'mana/magic power' bar that will appear after you receive your first spell) and tap the spell you'd like to use.
When a text box appears, tap the box to see the person has more to say. If they don't, just move away from them.
There is a portal in Cairnwood Village. Once you have discovered other portals, you may use them to quick travel.
After completing your first quest, the houses and shops will open for you to inspect and explore. Just tap to enter.
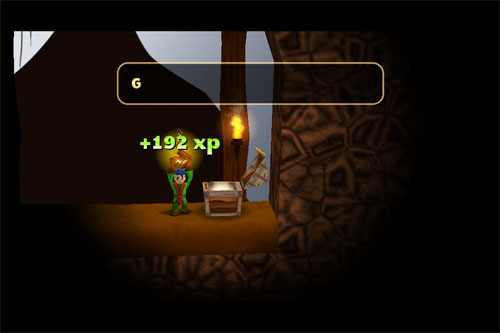
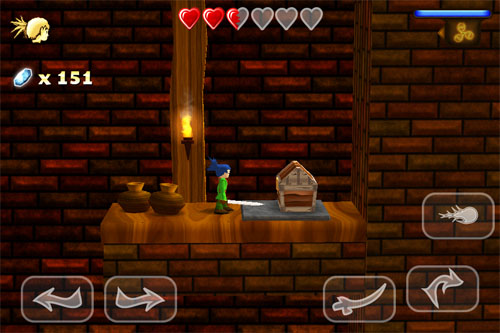
Clay pots can be bashed with your weapon or magic spells or thrown (use the hand icon to lift them) for items; i.e. health, soul shards, etc. Remember, good things come to those who break clay pots.
Grass can be swiped with your sword for items, i.e. health, soul shards, etc.
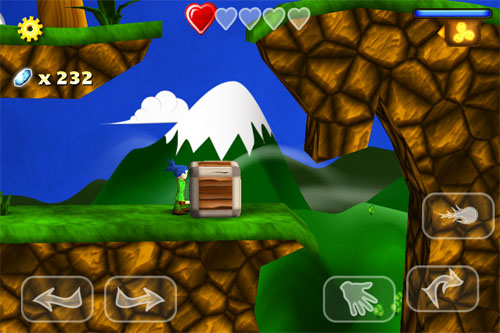
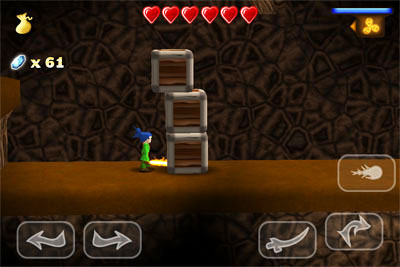
Large boxes can be lifted and thrown or placed elsewhere when needed (again, use the hand icon to lift them).
Use your sword to reflect incoming projectiles...think baseball!
Each time you level up you can choose to make one area stronger, health, damage or magic.
Achievements
Scavenger: Find a Treasure - 10 pts
Beam Me Up Scotty: Travel through a portal - 10 pts
Angry Bats: Kill Szan, The Angry - 20 pts
Blast a Bat: Kill a bat with a magic bolt - 20 pts
Gold Digger: Find 10 Treasures - 20 pts
The Destroyer: Smash 100 pots - 20 pts
The Gardener: Cut down 100 bushes - 20 pts
Reckless Shooting: Get killed by your own magic bolt - 30 pts
Bomb a Bat: Kill a bat with a bomb - 20 pts
Mishandling Explosives: Get killed by your own bomb - 30 pts
Pancake Time: Get crushed to death - 30 pts
Animated Earth: Kill Boulder, The Golem - 30 pts
Lost Sword: Find The Needle - 30 pts
The Undead: Find the Shadowtrinket - 30 pts
Law and Justice: Kill Zak, The Bandit Leader - 30 pts
Like a Ninja: Kill the boss in Florennum without taking any damage - 80 pts
Duel: Kill Jack, The Ambusher - 30 pts
Another Entrance: Find The Thorn - 30 pts
Lord of The Undead: Find The Magic Sword - 30 pts
Too Fast: Kill Slick, The Quick - 30 pts
Treasure Hunter: Find 40 Treasures - 30 pts
Deadly Mage: Kill Edogani, The Deadly - 30 pts
Too Rich: Have 999 Soul Shards - 30 pts
Taking The Shortcut: Purchase a Key - 30 pts
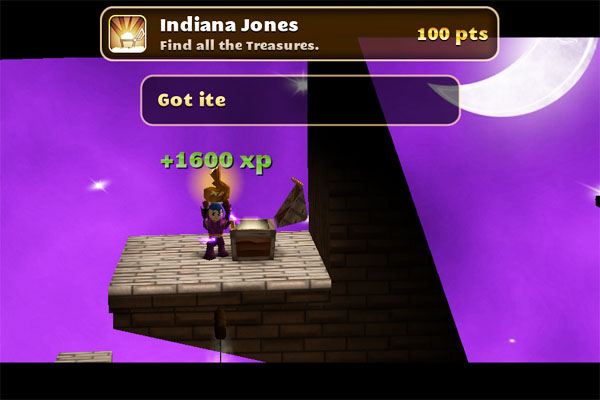
Indiana Jones: Find all the Treasures - 80 pts
Shattered Blade: Assemble the Mageblade - 40 pts
The Explorer: Visit every place - 30 pts
Master of Order: Kill The Master of Chaos - 80 pts
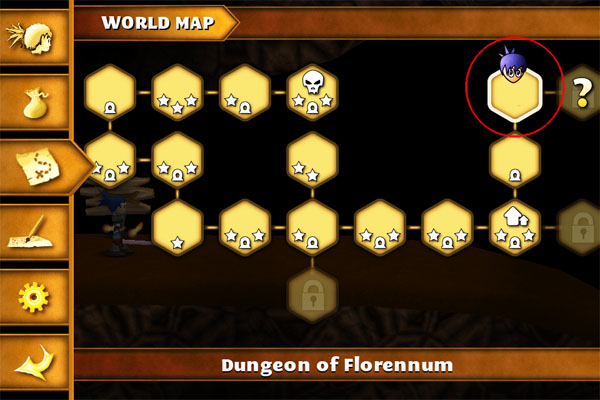
Mapshot / Screenshot
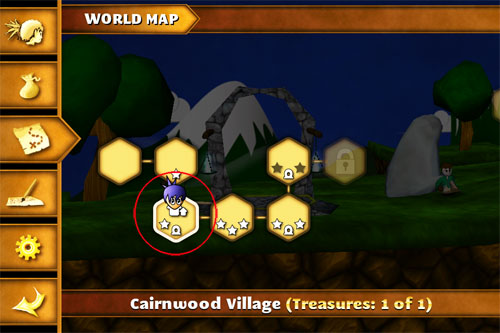
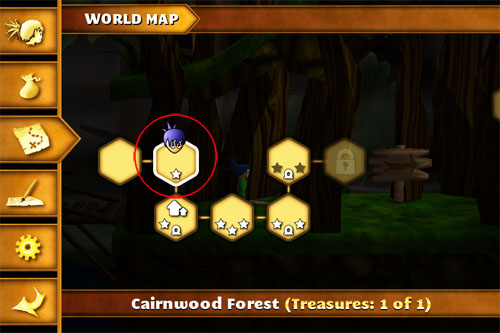
Cairnwood Village
Screenshot
Exit your house to enter the village.
Head across the river, past the houses, and up the stairs, and you'll receive your first weapon...and your first quest.
Screenshot
Find Master in the Woods
Screenshot
Head to Cairnwood Forest (when you get to the 'steps' go up and head left)
Screenshot
At the foot of the bridge, jump up to the ledge above you.
Screenshot
Head over, back through Cairnwood Village, to the Dusty Hut and open the chest for a little treasure.
Screenshot
Head back to Cairnwood Forest.
When you see the grass platforms (above the 'Hold the jump button...' sign) go up and open the chest.
Screenshot
Go left until you see a hill, jump up to the platform
Screenshot
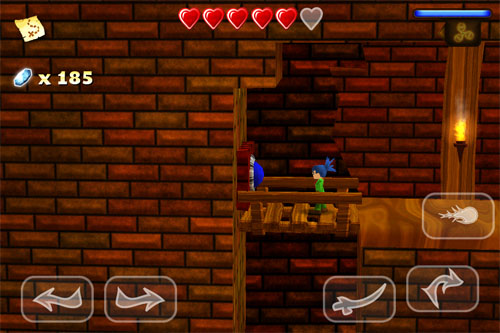
Continue over the swinging bridges and you'll find the Master.
Read the note and use the magic bolt on the Corruptor
Find the Legendary Weapon
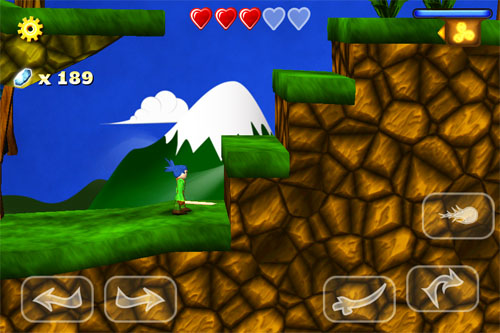
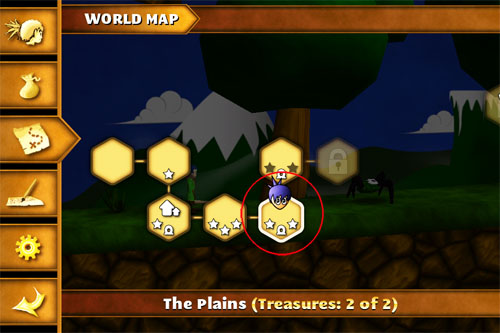
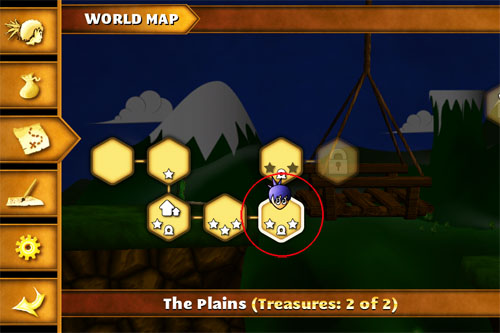
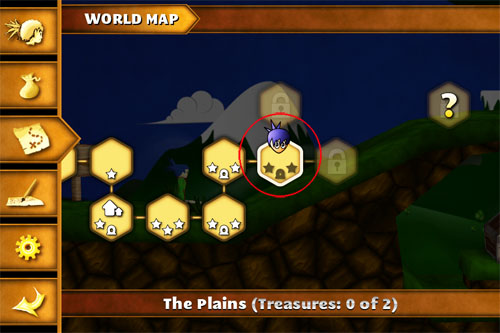
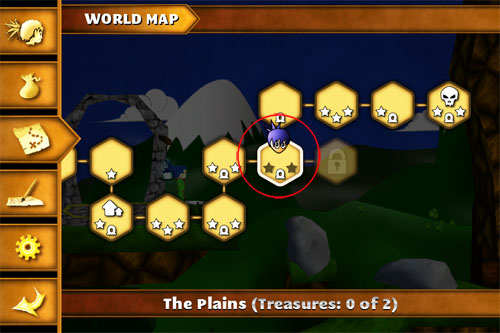
1 - The Plains
Screenshot
Exit the healer's house and head to the Plains. Continue until you reach the 'wall' of pots; throw or slash the pots, and the passage will open for you.
Go to the end of the path, but don't jump down. Use your magic bolt to slay the Bush Beetle first, then jump down and get the chest.
Screenshot
When you come off the grass 'platform', go left down to the Murky Small Cave.
Screenshot
Head in, get the chest, then get back out to the Plains.
Screenshot
Go past the rock ramp until you get to the tree.
Screenshot
Jump up there and get the box.
Take the box to the wall, drop the box, and use it to jump up to the ledge.
Screenshot
When you have a choice to go up or down, go up.
Screenshot
Jump up to the ledge closest to the fountain and jump to the chest. This one contains a bag of exp.
Screenshot
Go back out to the Plains, make your way down and you'll come to the next map.
Activate the portal. Continue on to the Ferryman's house. Enter, receive your quest, and take the key.
Screenshot
2 - Recover The Vase
Screenshot
Exit the Ferryman's house
Go up the hill to the Abandoned Guard Tower and use your key to unlock the gate.
Deal with the bats and Arroyo, the Corruptor, then get the vase and return to the Ferryman.
Hop on the ferry and head to the next map.
3 - The Plains
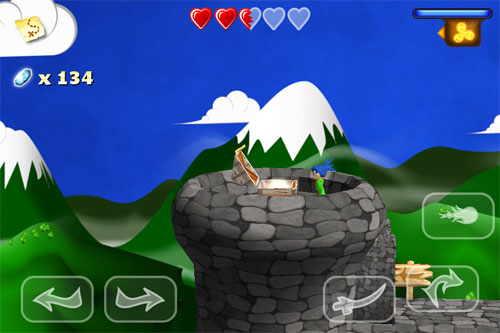
Screenshot
As you enter the map, jump on top of the tower right behind you and open the chest for a small treasure.
Screenshot
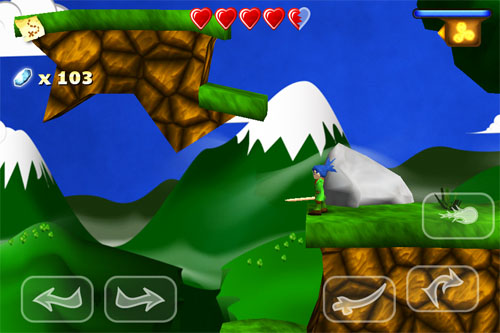
Continue on. Take out the beetles as you go, until you get to a point you can go down...then go down.
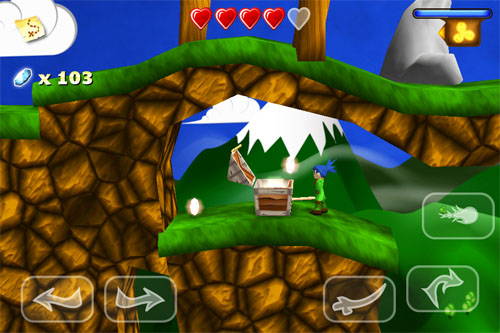
Screenshot
Take out the beetle, jump on the swing and cruise over to the chest for a little treasure, head back the way you came.
Screenshot
4 - The Plains
Screenshot
Activate the portal, then head down to Marblemist Cave
Screenshot
Defeat the angry bat, then two regular bats, open the chest for a bag of exp.
The way I kill them is to wait until they dive, quickly move right, then face left, fire a magic bolt and repeat.
Screenshot
Exit the cave, jump up to the ledge and continue right to the swinging bridge.
Hop up on the ledge and grab the box.
Screenshot
Carry the box across the swinging bridge.
Screenshot
Throw the box at the Beetle, jump up and defeat him. Take the box and set it down between the ledges.
Screenshot
Jump up to the side where the Grasswalker is and defeat him. Keep heading that way, jump to the ledge with the rock and keep going to find another chest.
Screenshot
Head back over and take out the Beetle and continue on.
Go down the stairs
Screenshot
Jump on the trolley, and get the box. Head back the way you came. Place the box at the bottom of the cliff.
Screenshot
Jump up there and head out to the next map.
5 - The Plains
Screenshot
Head in and activate the portal. You'll see a chest down below—leave it for now; we'll come back to it.
Go down until you're blocked by a wall (we'll get back to this as well), turn around, go up the ramps, and exit to the next map.
Screenshot
6 - The Plains
Screenshot
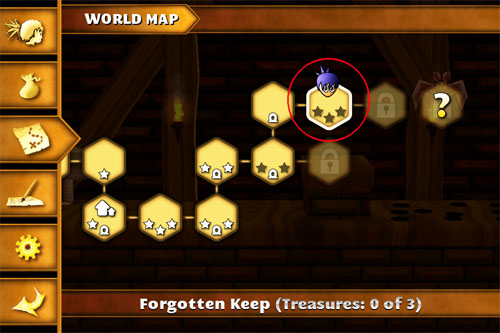
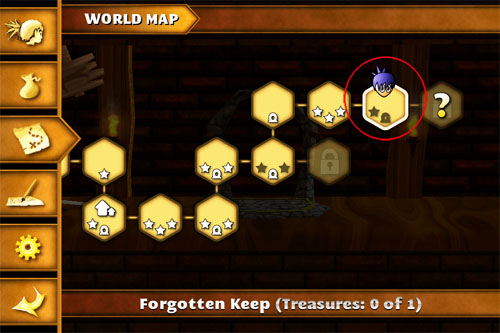
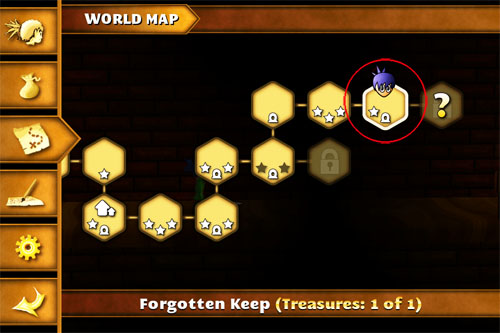
Head up and activate the portal. Continue to the Forgotten Keep.
7 - The Forgotten Keep
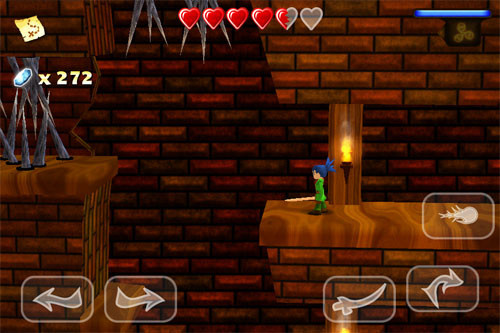
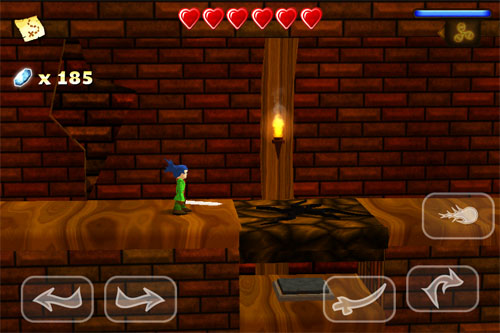
Screenshot
Head in and watch those spikes! When you see the spikes in the ceiling...
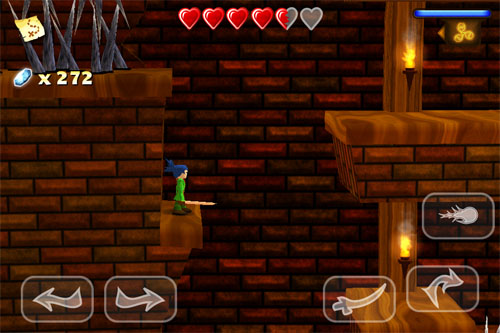
Screenshot
jump down the opening being careful to land on the ledge.
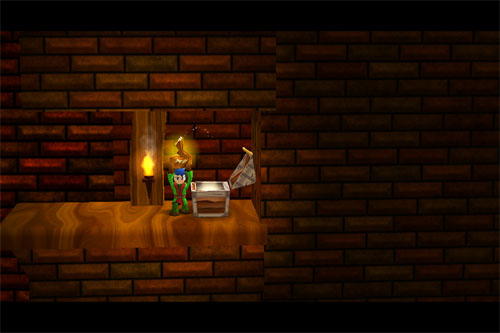
Screenshot
Head across the platforms and open the chest for a bag of exp. Go back the way you came.
Screenshot
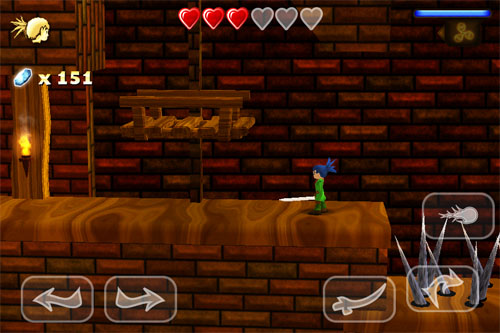
Go up the stairs. When you get to the moving platforms, go all the way up and then go left. You'll see swinging blades.
Screenshot
Go through and hop on the pedestal, the gate on the level below will rise. Make your way down there.
Go through the gate to the next gate. Krymil the Protector will appear.
Screenshot
After beating Krymil the Protector, the gate will open. Get the key and make your way to the platform on the other side and use your key to open the gate.
Keep going until you get to another locked gate. Turn and go down, hop on the pedestal in the corner. Go back the way you came.
Jump on the moving platform, defeat the angry bat, open the chest, and get the key.
Go back down, open the gate, hop on the platform:
Screenshot
It will take you up. Go across to the chest, open it for a key.
Screenshot
Drop down, open the gate, move on to the next map.
8 - The Forgotten Keep
Screenshot
Activate the portal and go down the platforms.
Screenshot
Make your way through the traps and strike the blue orb on the wall, the floor will lower.
Exit left about half way down.
Screenshot
Get the box, throw the box up a couple ledges, and place it where you can jump on it to reach the chest. Open the chest for a small treasure.
Screenshot
Go back the way you came, pushing the box in front of you until you push it off a long drop.
Screenshot
Drop down after it and push it onto the pedestal.
Screenshot
Head through the gate that just opened. Strike the blue orb in the wall: the platform will take you down to the Forgotten Keep Cellar.
Screenshot
9 - The Forgotten Keep Cellar
Screenshot
Defeat the Level 5 Charger, continue on and talk to the spirit of the Master. He'll give you the Magic Bomb spell. Return the way you came.
10 - The Forgotten Keep
Screenshot
After you receive the Magic Bomb, use it when you get to the piece of floor that looks different.
Screenshot
Drop down, hop on the pedestal, continue to the elevator, strike the blue orb and ride back up.
Go back the way you came until you come to another piece of 'different' floor. Use a bomb, drop down on to the pedestal.
Screenshot
Go through the gate and defeat the Tainted Knight. Continue on to the Chamber of The Mageblade.
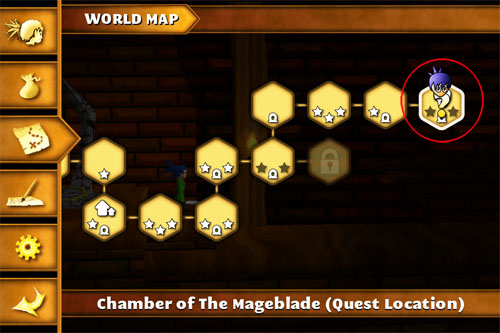
11 - Chamber of The Mageblade
Screenshot
Activate the portal, then defeat the Level 6 Charger.
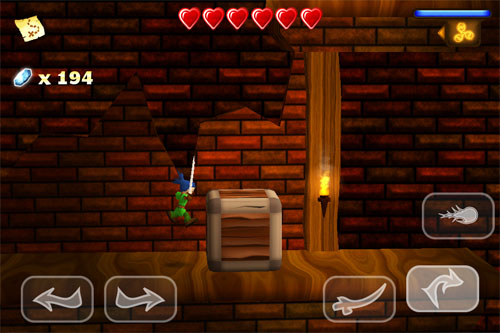
Move the box back to just below the ledge above you.
Screenshot
Go up the stairs, then push the upper box on to the lower box.
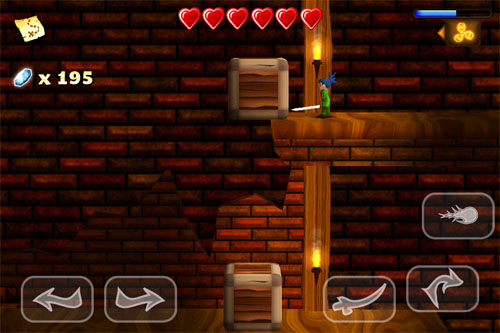
Screenshot
Drop down, push both boxes back toward the portal, jump on the box then onto the ledge. Open the chest, get the key.
Turn around and you'll see darker bricks on the wall. Those are steps you can climb.
Screenshot
Climb the steps, throw a bomb at the door, hop up and open the chest for a small treasure.
Screenshot
Climb back down and head back to the stairs.
Go up the stairs to the locked gate, use a bomb on the locked door.
Defeat the Boss.
To defeat him, while preserving magic power, hit him twice, back away to avoid his fists, move in and repeat until he's dead.
Defeat the Corruptor
To defeat him, jump the flames, pick up the magic power balls and continuously use your magic bolt.
When he's defeated, pick up the Mageblade and exit to the Elder's House.
Screenshot
Speak To The King For Help
So here we are, standing on the edge of doom. Not to worry, we'll get through this together. Portal back to the Plains.
1 - The Plains
Screenshot
Head down to use a bomb on the wall blocking you from the chest. Open the chest for a small treasure.
Screenshot
Cruise back the other way. Use a bomb on the blocking wall, and you'll find yourself in the Cairnwood Valley Caves.
Head down until you reach the Sinister Cave. Defeat Boulder, The Gollum (when in doubt, shoot Magic Bolts!) and get the chest for a big bag of exp. Head back up to the Cairnwood Valley Caves and continue on to the Evernight Forest.
Screenshot
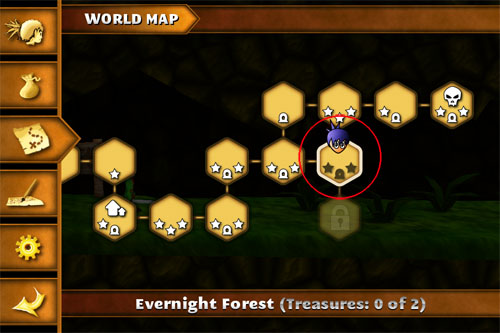
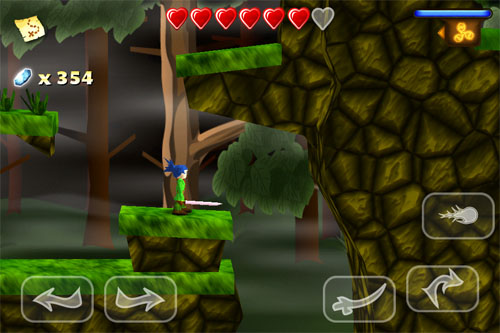
2 - Evernight Forest
Screenshot
Upon entering the Evernight Forest, head up to defeat the Spike Beetle. The second 'stair' to your left is actually a block. Push it to get to the chest and receive a new sword.
Screenshot
Head back toward the Snapper and go up to activate the portal.
Screenshot
Continue on until you can go up the 'stairs'. Use your magic bombs to break through the walls. Grab the treasure from the chest. Head down to enter Evernight Caves.
Screenshot
Jump down the wooden platforms that are sort of patterned like a staircase. They'll drop a moment after you land, so be quick.
Screenshot
Hit the blue orb on the wall and head back up to the other side, then re-enter Evernight Forest.
3 - Evernight Forest
Screenshot
Battle the Beetle, jump over to the ledge he was on, drop down and defeat the second Beetle. After you defeat the Spike Beetle, drop down and head to another chest for a small bag of exp.
Screenshot
Head up until you enter the Evernight Caves, then pass on through back to Evernight Forest.
4 - Evernight Forest
Screenshot
Hop down and use a magic bomb on the wall to reach the chest and receive a small treasure. Head back the other way.
When you get to the grass 'stairs' heading up, go left at the tree and activate that portal. Yea for portals! Head back the other way. Jump on top of the wheel, quickly face left and jump on to the swinging platform.
Screenshot
Swing the platform back and forth (run from edge to edge to get it swinging). Jump when you're at the highest point to reach the ledge and get the chest for a small treasure.
Jump on/through the wheel, keep walking in the wheel until the opening comes to the path and hop out.
Screenshot
Defeat the Root Guardian, then re-enter the Evernight Caves.
When you see the three boxes, throw one on top of the other and use them to jump to the high ledge.
Screenshot
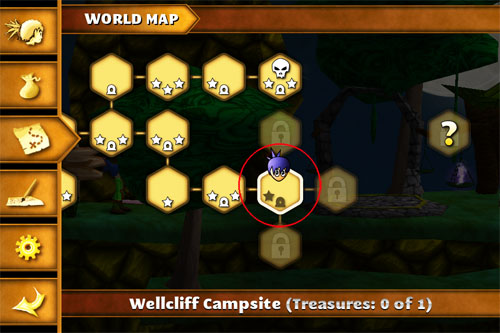
Exit to the Wellcliff Campsite.
5 - Wellcliff Campsite
Screenshot
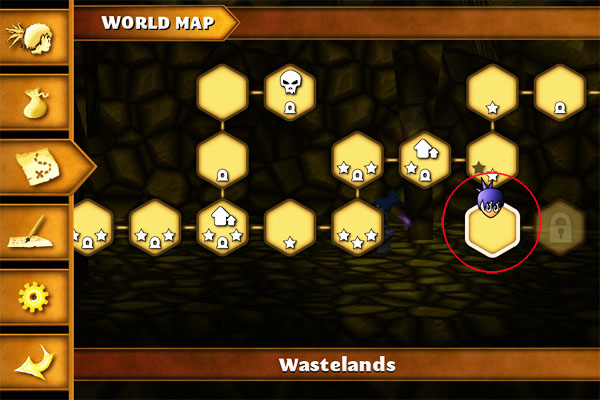
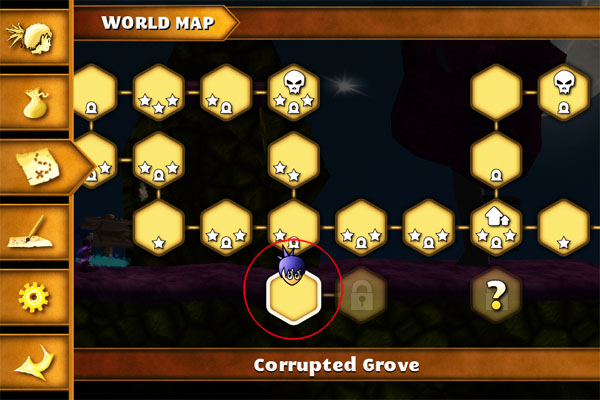
Enter Wellcliff Campsite and activate the portal. A helpful person will let you know that great evil lurks on the lower route...and he ain't lying. We'll come back to the Corrupted Grove. For now, head up to the Wellcliff Graveyard.
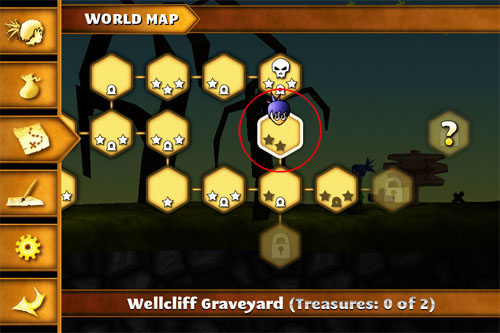
6 - Wellcliff Graveyard
Screenshot
Strike the blue orb in the headstone.
Screenshot
Jump over to the wooden platforms, defeat the angry bat, jump to the ledge, take on the skeletons and continue on to the Corrupted Crypt.
Get the chest above you.
Screenshot
Continue on, strike the headstone, take out the Bone Eaters, and open the chest to receive an Energy Trinket. Head out, exit back to the Wellcliff Campsite, then continue on to Evernight Caves.
7 - Wellcliff Campsite/Evernight Caves
Screenshot
Defeat the Corrupted Snorts. Hop on the elevator: it will take you up to another chest.
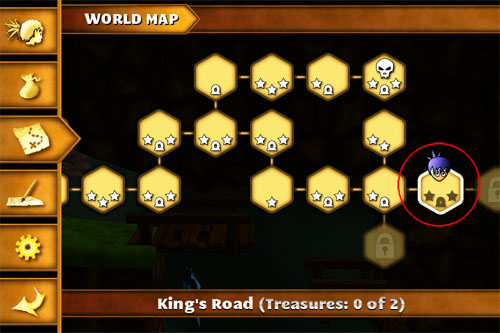
Get the treasure, then head out to the King's Road.
8 - King's Road
Screenshot
Head down the wooden platforms, then activate the portal.
Continue on, take out the bandit, then use a magic bomb on the wall. After the snapper, drop down the ledge, use a magic bomb on the wooden barriers. Drop down and get the chest.
Screenshot
Continue on until you come to a sort of broken bridge.
Screenshot
Jump from the first ledge, hit your jump again when you're just under the point of the rock.
Get ready to battle the Beetle. After this, all the platforms will sink with your weight, so jump quickly. At the third platform, after the Beetle, jump on to the rock ledge above you.
Screenshot
Continue up, alternating between the rock ledges and dropping platforms until you reach the chest. Open it for a sack of experience.
Make your way back down and across the river. Take out a couple more bandits, then exit to the outskirts of Florennum.
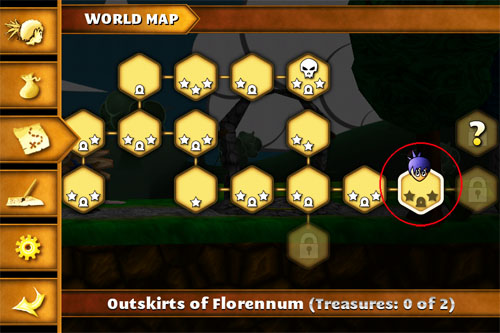
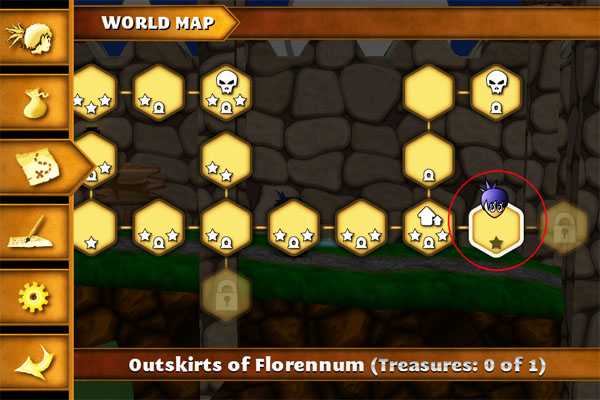
9 - Outskirts of Florennum
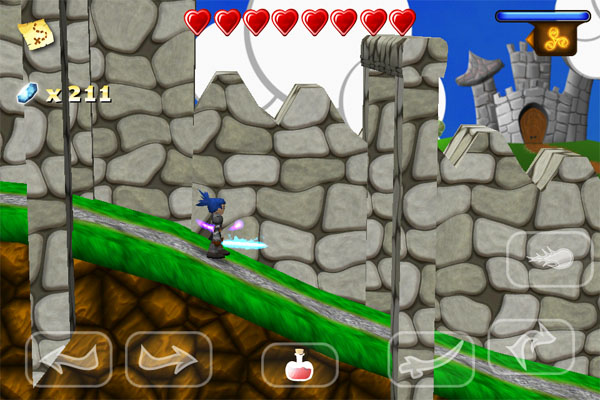
Screenshot
Activate the portal, then continue to the gate. You'll find it locked. Turn around and jump on the arches to enter the door in the wall.
Screenshot
Go into the Walls of Florennum. At the end of the platform, jump to the first step. Hop down and open the treasure chest for a sack of exp.
Screenshot
Make your way back up and speak to the guards. Take the key and head out. Go down the hill to the little house by the portal, which you passed on your way in.
Screenshot
Enter it and unlock the gate. Keep going and you'll find yourself in the City Sewers.
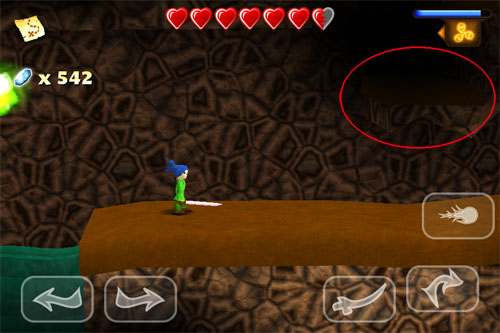
Jump the first bit of water. Hidden in the shadows here are steps.
Screenshot
Go up the steps and open the chest for treasure.
Screenshot
Take out the Bandit Leader, continue on, jump on to the ledge above you, then over the sewer water. Continue on to the City of Florennum.
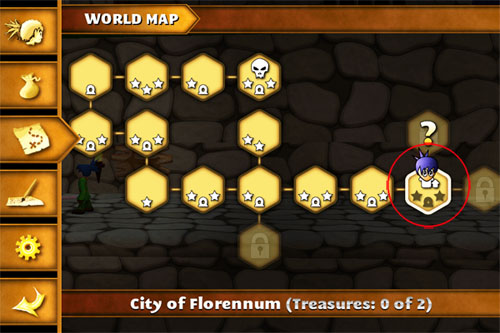
10 - City of Florennum
Screenshot
Enter the Eastern Guard Tower. Navigate the floating platforms and fireballs.
At the fourth platform, jump to the right.
Screenshot
The Gauntlet
Make your way through the descending columns. Timing is everything.
When you get to the really big one, with the huge chasm to cross, go almost to the edge.
Screenshot
When the column rises to the level just below your feet, tap the 'right' button twice (to run faster) and make your jump.
Push the first box in to the pit. Push the second box under the platform.
Screenshot
Jump over the next box, to the next section.
Jump up and push the box on your left all the way to the wall.
Screenshot
Jump over and push that box all the way to the wall to open the door above.
On the second level, push the box onto the box below.
Screenshot
Get on the stacked boxes and jump to the third level, exit to the City of Florennum, and open the chest for the Trinket of Ice.
Screenshot
Drop down and re-enter the tower.
Re-navigate the platforms: this time go left at the top and exit to the City of Florennum.
Wait for two blobs to fall off the moving platform. Jump on the platform and make your way over to the Mage. Defeat the Mage.
Jump the fireballs and hit him with Magic Bolts, or strike with your sword.
A chest will appear. Open it for the key and make your way left to the Western Guard Tower.
Take out the level 10 Mage, go down and cross the wooden swings, and go down the steps.
From the second to last step, jump on the column and cross to a key. If you fall off the columns, jump the holes in the floor. There's spikes in them thar holes! Get the key and go back the way you came.
Cross back over the wooden swings. At the last swing, jump down and go down the hill to a locked gate and open it. Continue on to the Dungeon of Florennum.
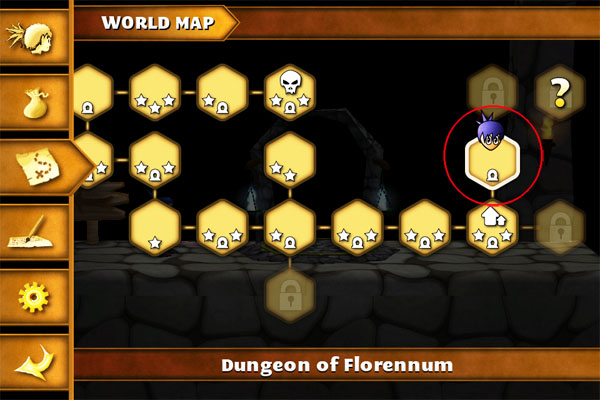
11 - Dungeon of Florennum
Screenshot
Activate the portal. Jump on the wooden swing, rock it until you can jump to the ledge. Patience, young padawan, do-able I assure you it is.
Screenshot
Defeat the Dark Knight, speak to the King, and receive a new quest.
Recover The Second Shard
1 - Dungeon of Florennum
Screenshot
Head past the cells and jump up to the ledge.
Screenshot
Jump and use your magic bolt on the blue orb.
Screenshot
Hop down and magic bolt the blue orb.
Screenshot
Turn, go to the edge of the ledge, and use your magic bolt to get the last blue orb.
Screenshot
Hop up to the ledge where you see the smaller ledge over the pressure plate and spikes in the ceiling.
Screenshot
Drop down and go to the opening in the floor by the closed gate. Drop a magic bomb down here. It will be pushed over to activate the orb you can't reach and stop the spikes. Timing is key.
Go through the now open gate. Take out the bat, then jump the river while avoiding the green balls.
Screenshot
Do the same here: this time there are three green balls to avoid.
Screenshot
Exit to the Dungeon of Florennum.
2 - Dungeon of Florennum
Screenshot
Go up the first ramp. Drop down on to the pressure plate. Strike the orbs in sequence to allow the fireball through the pillars to strike the orb on the other side.
Screenshot
Left, Right, Left, Hop
Get the key and go back down. Unlock the gate and defeat the Level 11 Dark Knight.
Go down and exit to the Overseer's Lair
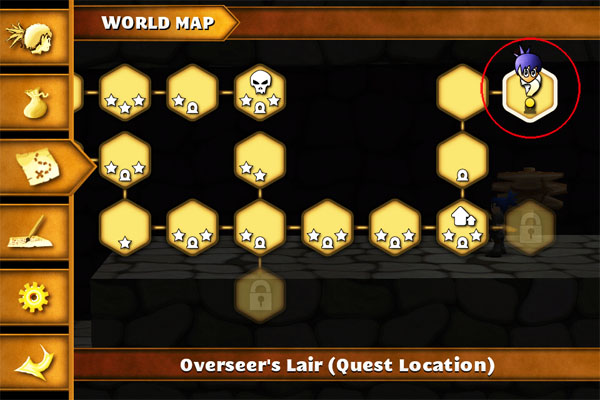
3 - Overseer's Lair
Screenshot
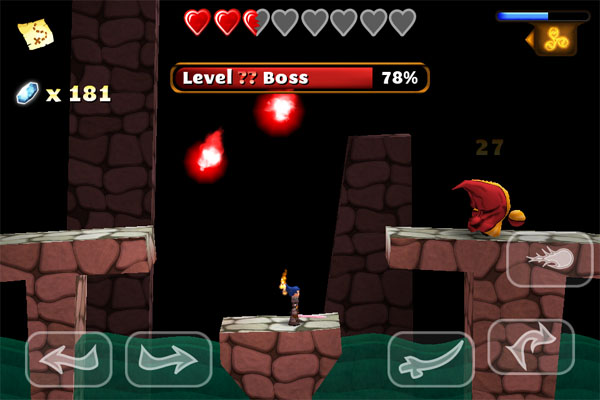
Activate the portal. Continue on to the boss. Wear him down a little.
I fought him from the platform in the middle and used Magic Bolt. Every time you hit him, he will teleport to the opposite side. Jump, magic bolt, avoid fire balls, turn and repeat.
Screenshot
When he gets to 70%, he will teleport to further along the ramp, and you can fight him straight up. If you stand at the back of the first stair, his fireballs can't reach you.
Screenshot
When he's down to 40%, he will, again, teleport to further along the ramp.
This time he shoots, then teleports in a three patterned sequence. If you duck right behind the center platform and just attack him when he appears there, you'll be in pretty good shape. Most fireballs will not reach you here, but there will be an occasional stray to watch out for. If you time it just right, you can hit him three times before he disappears.
Screenshot
Exit throught the gate, pick up the Second Shard of The Mageblade, then exit back to the Dungeon of Florennum.
Posted by: Terri |
May 17, 2012 4:14 PM
|
May 17, 2012 4:14 PM
Swordigo Walkthrough
Part 2, The Fiery Depths to World's End Keep
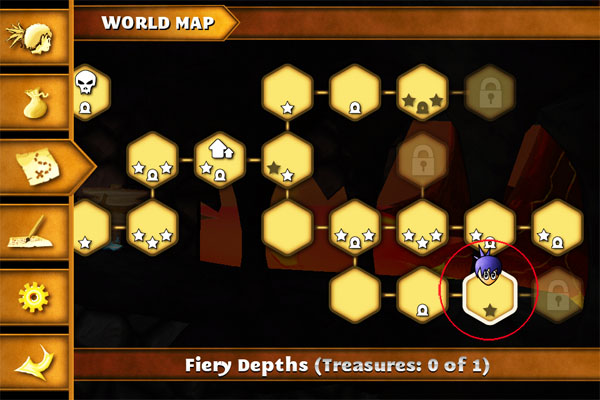
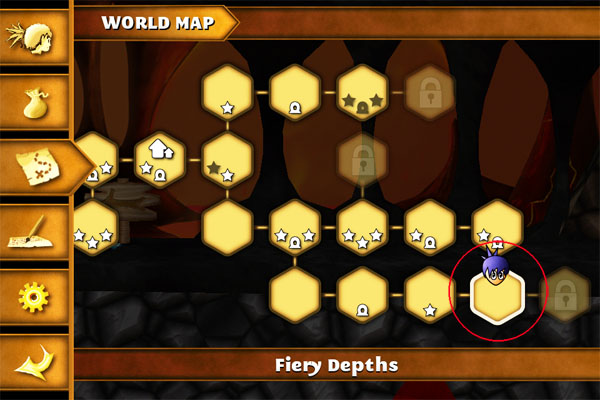
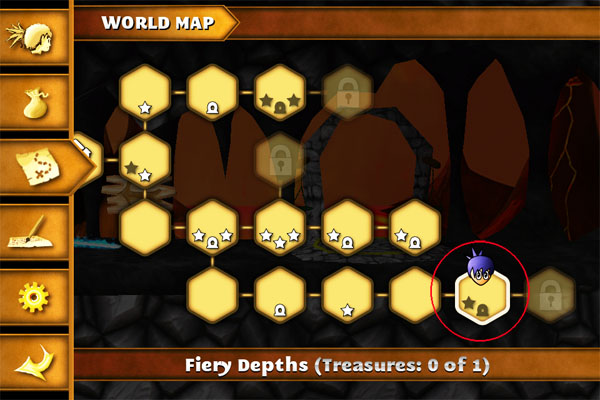
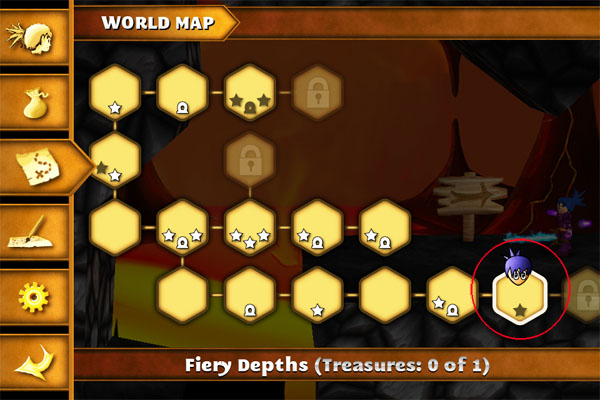
The Fiery Depths
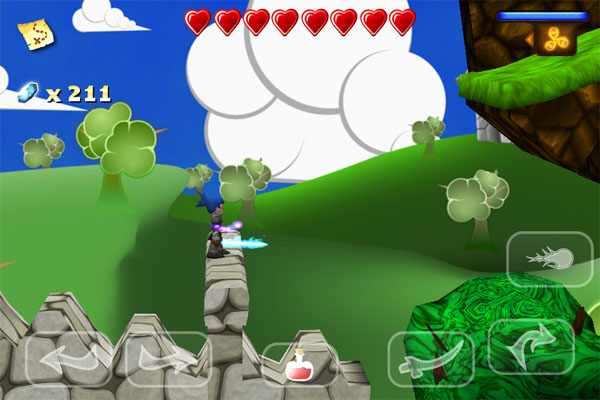
1 - Outskirts of Florennum
Screenshot
Enter the outskirts, stop after you've passed under the second arch. Jump up on top of the third arch.
Screenshot
Jump over to the top of the fourth arch and on to the platform.
Screenshot
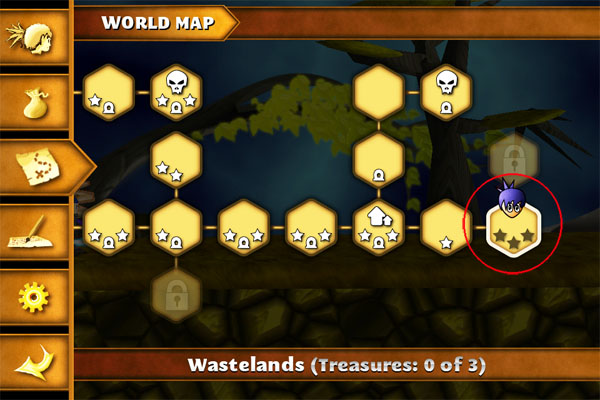
Defeat the fire bats, jump down for the treasure, go out the way you came, exit to the Wastelands.
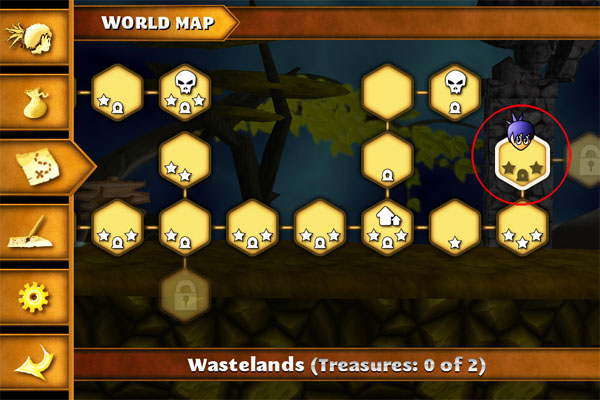
2 - Wastelands
Screenshot
Go until you can go up.
Screenshot
Jump up and make your way toward the Huge Cavern. You'll encounter some Fel and Bush Beetles...nothing major, until Jack, the Ambusher. Defeat him.
While it's not very sportsmanlike, I started shooting Magic Bolts where I'm standing in the screenshot, before he even came at me. Killed him without him landing a blow.
Screenshot
Enter the Huge Cavern, get the treasure. Continue right, to the end of the ledge. Drop a magic bomb. Time it so it will explode on the breakable wall below you.
Screenshot
Drop down. As you drop to just below the opening, use your jump to hop in there. Enter the Thieves' Hideout.
Screenshot
Make your way to the chest, exit back to the Wastelands.
Make your way to the swinging platform.
Screenshot
Go all the way up the stairs, over to the platform and get the treasure from the chest.
Screenshot
Come back down and go right when you can. Go up the stairs.
Screenshot
Exit to the Wastelands.
3 - Wastelands
Screenshot
Activate the portal. When you get to the Ambusher, if you fight him from where I am in the screenshot (before the bridge), very few of his knives will touch you.
Screenshot
Defeat him and jump the huge chasm (same principle from getting the treasure in the Eastern Guard Tower...but this time we don't have to worry about a huge wall coming down on our heads!).
Screenshot
Make your way up the ramp.
Screenshot
Keep going 'til you reach the swinging bridge.
Screenshot
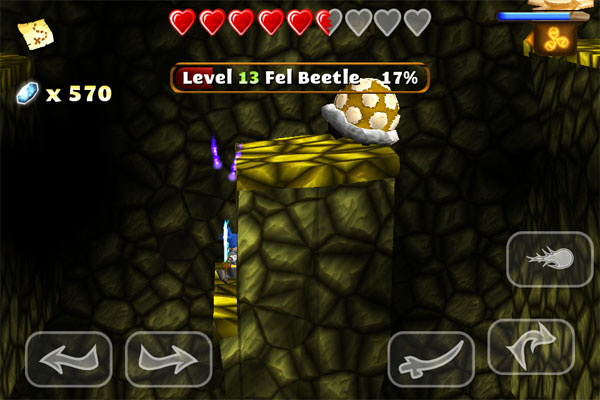
Drop down, cross the platforms (be wary of the Fel Beetles) and open the treasure chest.
Screenshot
Defeat the Fel Beetle on the ledge behind you, go back over the platforms and jump on the swinging platform.
Swing the platform, jump to the ledge high on the right (you won't be able to see it until you get the swing going).
Screenshot
Go up and left, over the bridges until you get to the Fel Beetles. Drop down, defeat them. Jump to the ledge on the left.
Screenshot
Jump on the first rock, throw a bomb through the opening to break the rock on the other side.
Screenshot
Note: If you get it on the first try, good on ya! If you're like me and you don't, drop down the ledge and drop left. You'll land by the portal. Go out and come back in to re-set the map and make your way back up for another try. I have found no way to get the rock through without the first rockpile there. The good news is the more you have to re-do the map, the better you get...so it goes a little quicker after the first few times you re-set it.
Drop a bomb on the remaining rock pile.
Drop down into the opening, push the red boxes to the left and hop over them.
Screenshot
Enter the cabin, open the chest for a sack of exp and treasure, exit out through the cabin.
Bomb the rock pile and push the three boxes to the ledge.
Screenshot
Bomb the remaining rock pile, jump up through the opening, jump over to the ledge where you defeated the Fel Beetles, go across the bridge and jump to the top ramp.
Screenshot
Enter the red gate.
Screenshot
Strike the orb, platforms on the level below you will lower. Turn around, defeat Zudara, the Executioner.
Screenshot
Go down, cross the platforms, exit to Greyhedge Village.
Screenshot
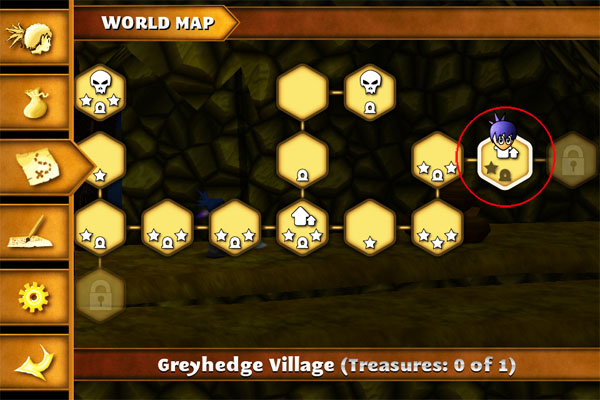
4 - Greyhedge Village
Screenshot
Defeat the Wastewalkers, break the clay pots, continue to the portal and activate it.
After the merchant's house, go up the stairs.
Screenshot
At the top, talk to a person who will let you know that someone locked the front door of the house.
Turn and continue past the healer's house until you reach the clay pots.
Screenshot
Use them to get over the house and enter through the back door.
Pick up a pot, take it back to just past the healers house, before the downward slope, and set it down.
Get another pot, go back, hop on the first pot, jump to the house and set it down.
Get the last pot, go back and set it on top of the second pot.
Screenshot
Get on the pots and jump over the house.
If you break a pot, enter and exit the healer's house. That will reset the pots.
Enter the Mysterious House, defeat the skeleton. Open the chest and receive a new sword, The Thorn.
Exit the house, go back toward where you got the pots and exit to Greyhedge Crossing.
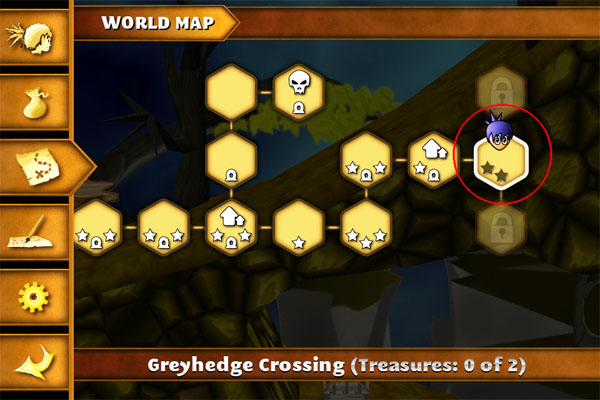
5 - Greyhedge Crossing
Screenshot
As you enter, you may notice a chest on the level below you. Leave it for now, we'll get to it. Stay on the top path, enter the Greyhedge Caves
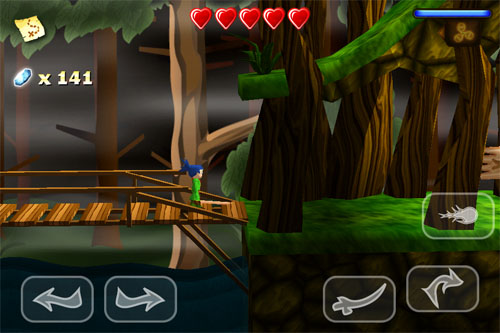
6 - Greyhedge Caves
Screenshot
Go down and get the chest for a sack of exp.
Drop down the second opening after entering the cave. You'll land right on the chest.
Screenshot
Exit the caves to Greyhedge Crossing.
7 - Greyhedge Crossing
Screenshot
Go down the wooden ledges.
Screenshot
Jump on the swing, rock it (double jump up and down on it, you can try going side to side, but I found just jumping on one side was easier).
Screenshot
Jump on the ledge to your left and get the treasure (this is the treasure we passed over earlier).
Screenshot
Go right and exit to the Wastelands.
Screenshot
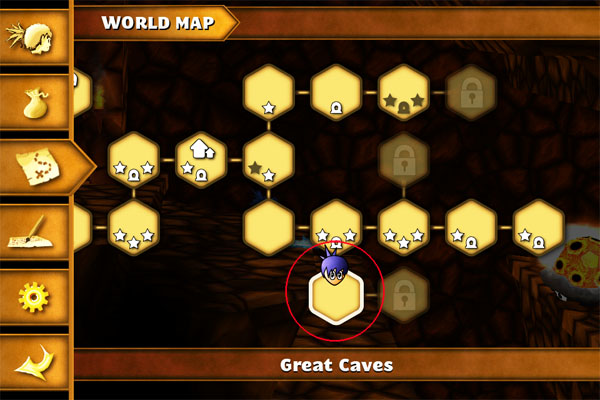
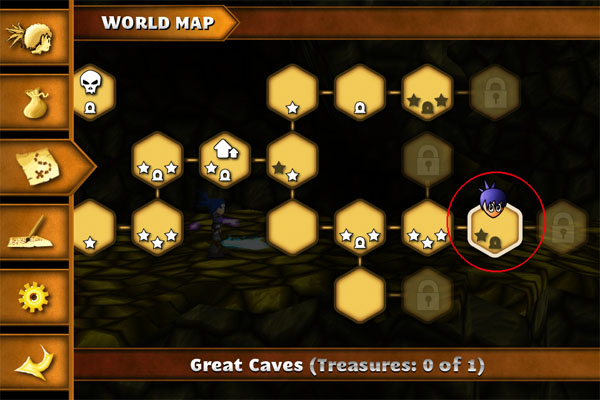
Keep going and exit to the Great Caves.
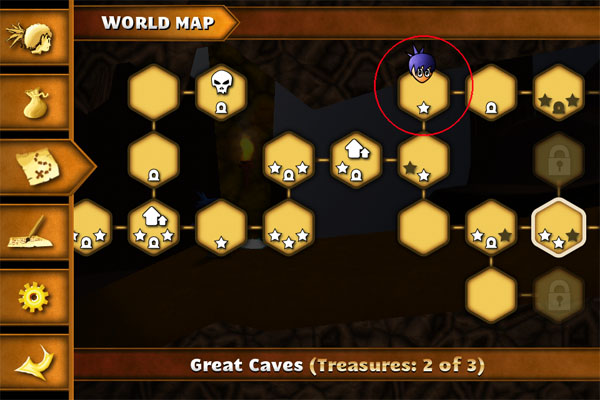
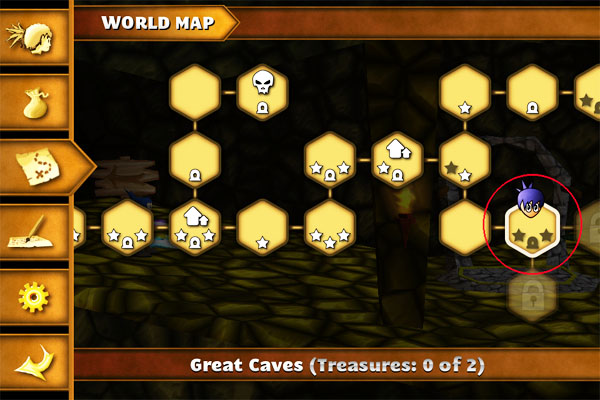
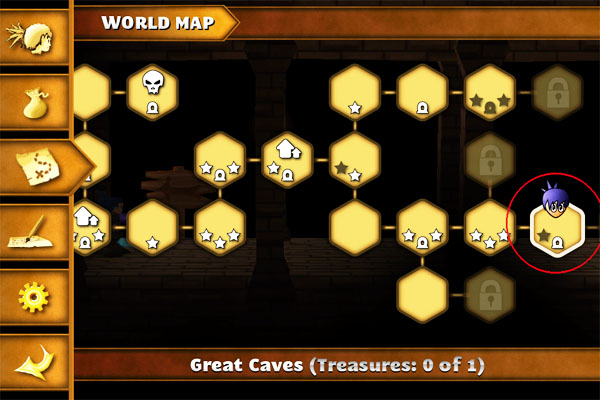
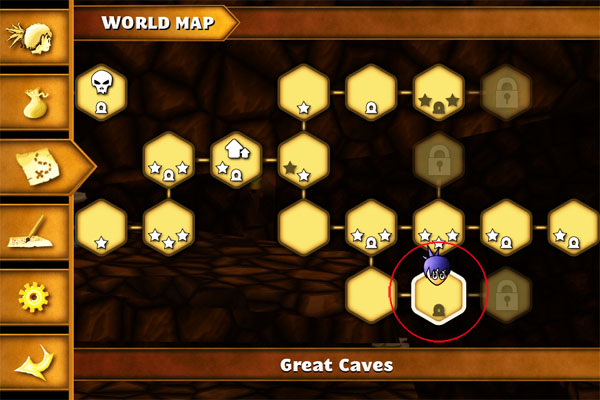
8 - Great Caves
Screenshot
Activate the portal and head down. Jump the opening in the floor.
Screenshot
When you see the Fel Bettle, jump to the step on the column he's on.
Screenshot
Drop one more step and jump over to get the treasure.
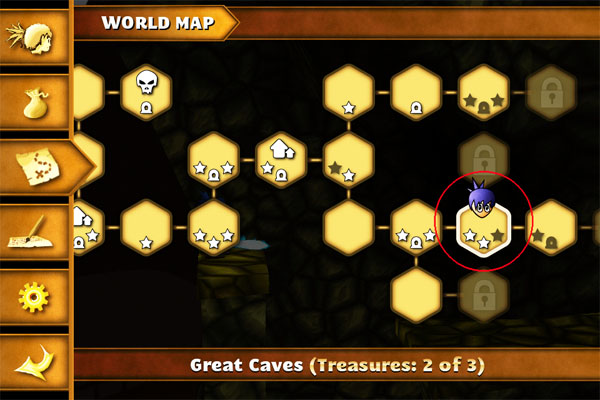
Go back up, take care of the Fel Beetle and exit to the Great Caves.
Jump over to the ledge where the rock wall is and bomb it. Exit to the Great Caves.
Screenshot
Jump the ledges, dodging the hanging rocks, using the same technique from the King's Road.
Screenshot
Jump from the first ledge and hit your jump again when you're just under the point of the rock.
Exit to the Great Caves.
Stop at the ledge. Use your bomb and jump and throw it at the rock wall. This is tricky. You have to time it just right to explode on the wall and as you release the bomb, turn and jump back to the ledge. If you don't make it, just go back around and re-enter. The wall doesn't re-generate, so when you come back in just jump across.
Screenshot
Exit the Great Caves.
Hop up on the ledge and get your treasure.
Screenshot
Go back the way you came, jump back over the opening, go back across the ledges, bomb the rock wall and drop down the stairs.
Kill the Fire Beetle, continue on, jump down and exit to the Great Caves.
9 - Great Caves
Screenshot
Go down the stairs
Screenshot
Take out the Fire Beetles and exit to the Great Caves.
Navigate the ledges. Exit to the Great Caves.
Screenshot
Make the big jump.
Screenshot
Go up the elevator. Exit to the Great Caves.
10 - Great Caves
Screenshot
Note: In this map, when you fall, you will re-enter the map falling...just make your way to the desired landing. It involves using your directional buttons and jumping mid-drop. The fall pattern is 'opening in the right wall', 'center landing', 'tall ledge'.
You will be defeating many, many fireblobs here. When you're done a chest will appear. Open it for treasure and a sack of exp.
Screenshot
Jump up the first ledge and continue up the steps. Exit to the Great Caves.
Screenshot
Kill Slick the Quick.
Jump to the landing on the opposite side and exit the Great Caves.
If you miss, jump in the 'opening in the right wall' and try again.
Screenshot
Hop over the ledges and exit left to the Great Caves.
Jump over and get the treasure.
Screenshot
Go down and bomb the wall. Head back the way you came. Exit to the Great Caves.
Jump from the ledge and land on the 'center landing'.
Screenshot
Go left and get the treasure from the chest.
Drop down and go left. Exit to the Great Caves.
Jump the purple water.
Screenshot
Head up and exit to the Great Caves.
Jump to the tall ledge, then on to the platform and exit to, you guessed it, the Great Caves.
Screenshot
11 - Great Caves
Screenshot
Upon entering, you will be attacked by a Fel Beetle. Have your bat, er, sword ready. Defeat him and move on.
Climb the ladder/stairs. Make a double-jump from the last stair, under the platform, to land on the top.
Screenshot
Hop down and defeat the Fel Beetle. Throw the box on to the ledge, get the box and jump on the swing.
Screenshot
Swing the swing, throw the box to the ledge and jump on the ledge.
Screenshot
Get the box and go down to the main level. Place the box under the first orb in the ceiling, strike the box. Repeat with the second and third orb, in order from left to right.
Screenshot
Exit right to the Great Caves.
12 - Great Caves/Purplemoor Crypt
Screenshot
Activate the portal and enter the Purplemoor Crypt.
Defeat the skeletons, go down, avoid the fireballs, jump the holes in the floor (spikes) and avoid the big red ball.
Get the key.
Drop all the way down to the floor
Place a bomb at the base of the wall on the left (the screenshot is after the wall was blown).
Screenshot
Go through the opening, exit to the Purplemoor Crypt and get the key.
Exit back and unlock the door on the right. Defeat the skeletons and go to the clay pots.
Stack two pots atop each other and jump up the steps to the chest.
Screenshot
Get your treasure, go down and exit right to the Purplemoor Crypt
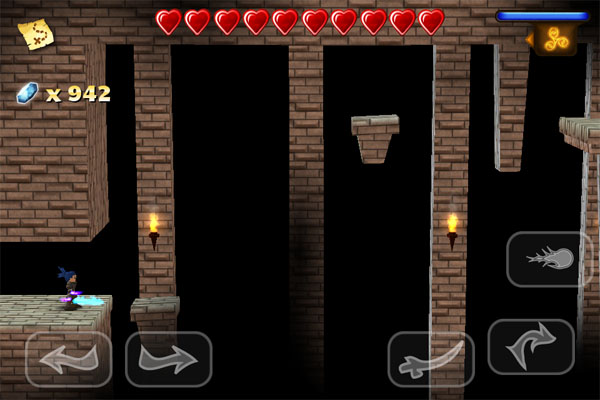
13 - Purplemoor Crypt
Screenshot
Make your way across the chasm to the ledge on the other side.
Screenshot
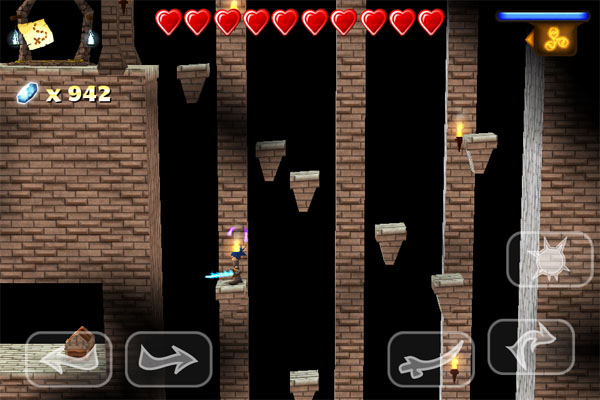
Use the lifts to make your way to about half-way along the left wall.
Screenshot
Jump in and get the treasure in the chest.
Continue up the lifts to the upper left corner, activate the portal and enter the Purplemoor Graveyard.
Screenshot
Defeat the Skeleton Lord and go get your magic sword!
Screenshot
Come out and portal to the Great Caves.
Screenshot
Note: There's a path below the chest that leads back to the Purple Crypt. I don't know why it's there, but it's there. You may need it for 'The Explorer' achievement, but at this point, I just don't know. If you'd like to check it out:
Drop off the ledge, staying against the wall. You'll land on a ledge below.
Screenshot
Use a bomb on the entrance,
Screenshot
Navigate the obstacles.
Screenshot
Exit to the Purple Crypt. Make your way to a portal and travel to the Great Caves.
14 - Great Caves
Screenshot
Note: You'll probably recognize this next little bit. We need to run back through to get to the Fire Boss.
Drop down and jump across the opening.
Screenshot
Take care of the Fel Beetle, make your way across and exit to the Great Caves.
Go down the stairs, take care of the Fire Beetle and Fire Blobs and exit it to the Great Caves.
15 - Great Caves
Screenshot
Go down the stairs
Screenshot
Take out the Fire Beetles and exit it to the Great Caves.
Navigate the ledges and exit to the Great Caves.
Screenshot
Make the big jump.
Screenshot
Exit to the Great Caves.
16 - Great Caves
Screenshot
Drop down in to the room with four exits.
Screenshot
You must exit the doors in a certain order. You'll know you're getting it right if the torches on the wall light up.
The order is top left, bottom left, bottom right, top right.
Activate the portal and exit to the Fiery Depths.
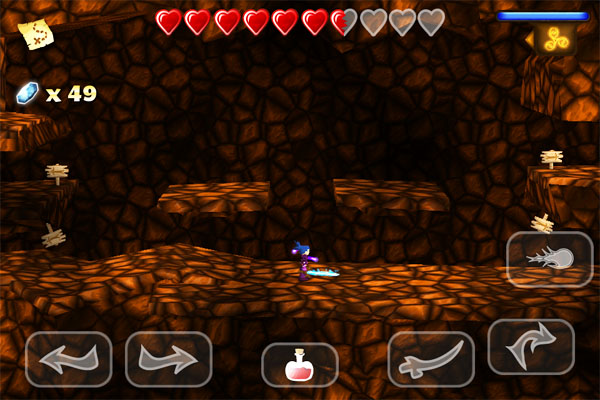
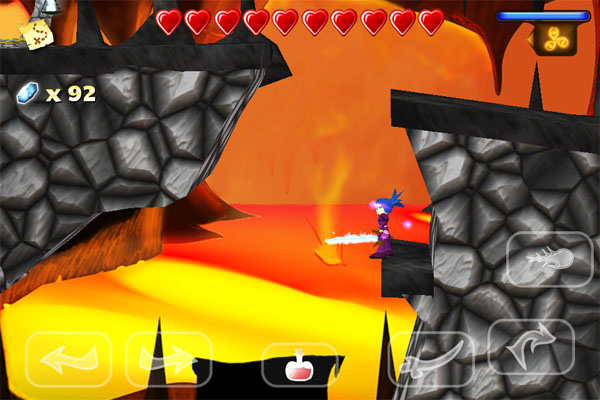
17 - Fiery Depths
Screenshot
Go up the ledges.
Screenshot
Make your way to the key.
Screenshot
Drop down and open the gate.
Defeat the Magmatar, jump on the ledge and open the chest. Drop down and continue right.
Screenshot
Continue across the rotating platforms and exit to the Fiery Depths.
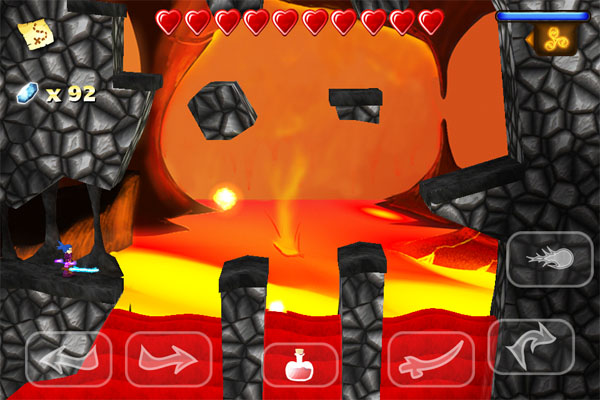
18 - Fiery Depths
Screenshot
Make your way across the rotating platforms. Continue up the ramp, defeating the Burning Chargers as you go.
Jump to the top ledge, avoid the fire swirls, and make your way across. Exit it to the Fiery Depths.
Screenshot
19 - Fiery Depths
Screenshot
Activate the portal. From the edge of the ledge, jump to the stair on the opposite side.
Screenshot
Go down the stairs, hop over and get the treasure from the chest. Make your way back up and continue down the bottom path. Exit to the Fiery Depths.
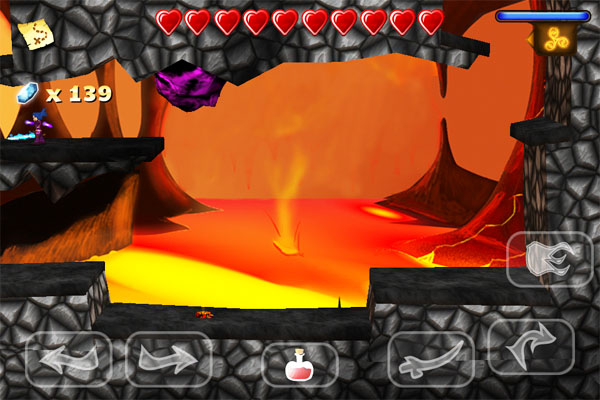
Make your way up. Do it quickly because that lava's gonna rise.
Screenshot
Talk to the spirit and receive the dragon's grasp.
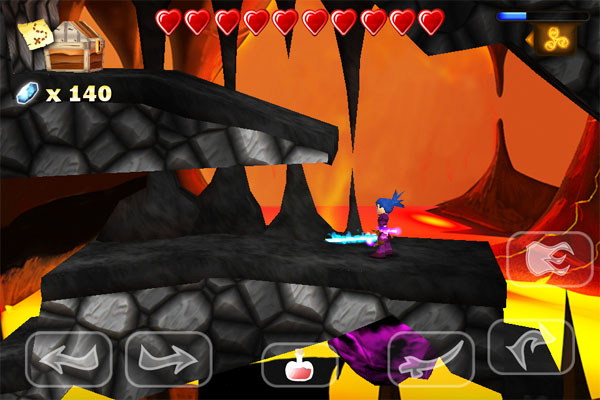
Equip dragon's grasp, go out and shoot it at the purple blob in the ceiling.
Screenshot
Exit to the Fiery Depths.
20 - Fiery Depths
Screenshot
Note: If you die at any point from here, from the portal take the top ramp and you will end up in this map.
Go down, defeat the mobs, use dragon's grasp and continue up.
Screenshot
Open the chest.
Screenshot
Go down and exit right to the Chambers of The Flame.
Screenshot
21 - Chambers of The Flame
Screenshot
Make your way up and over.
Screenshot
Continue to the large room containing a statue on a column opposite you.
Screenshot
Shoot your magic bolt at the statue. Continue shooting until you can get the key.
Go down, open the door, activate the portal and exit to Chambers of The Flame.
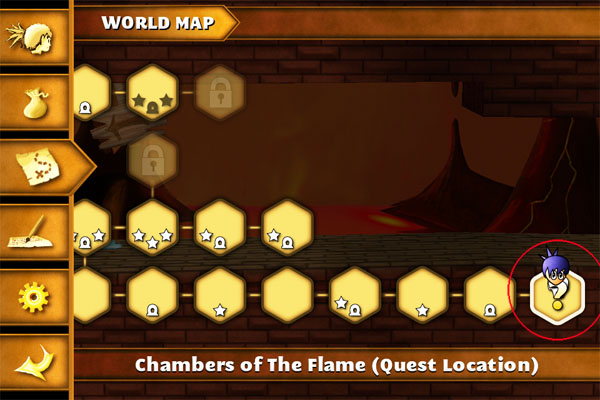
22 - Chambers of The Flame (Quest Location)
Screenshot
Fight the boss.
Screenshot
Use your dragon's grasp to bring him close, jump and attack.
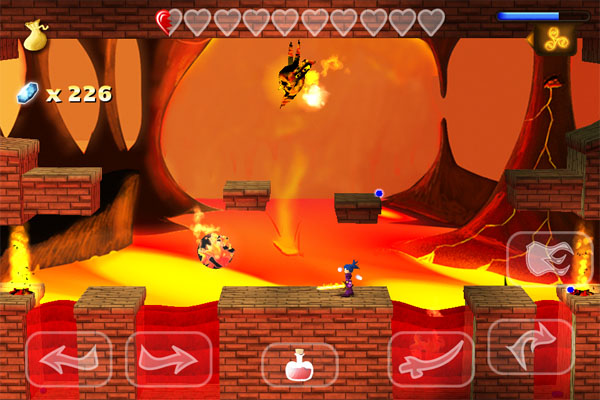
When he gets to 50% the fight gets a little more challenging.
Screenshot
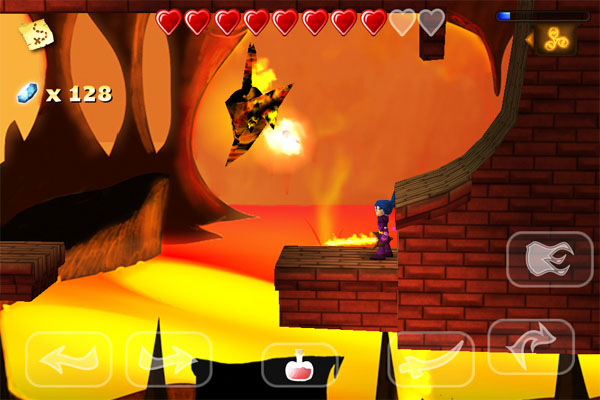
Make your way to one of the ledges, in the upper left or right corner, and continue fighting the boss from here. You'll still have to avoid the fireballs he throws, but the big balls of lava will roll right above your head and not touch you.
Screenshot
When he's defeated, exit right and get the third shard of the Mageblade.
Speak to the spirit and receive your next quest, The Snowy Peaks.
The Snowy Peaks
Portal to Greyhedge Village. Head up to Greyhedge Crossing and go down the wooden platforms.
Screenshot
Use the dragon's grasp to get to the ledge and get the sack of experience in the chest.
Screenshot
Go back up the wooden stairs, keep going up, heading right, and exit to Greyhedge Caves.
Go down, head right and enter the Ice Cave.
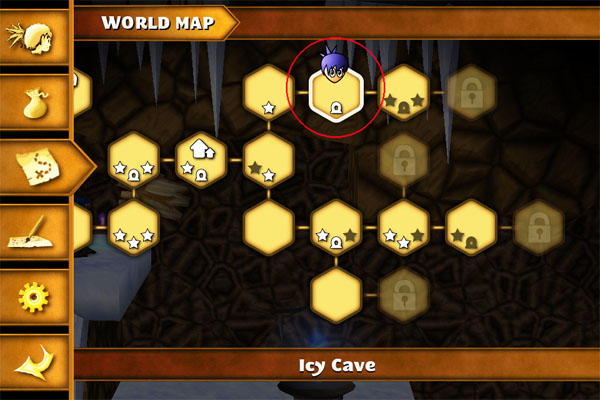
1 - Icy Cave
Screenshot
Hop down and activate the portal.
Exit to the Snow Slopes.
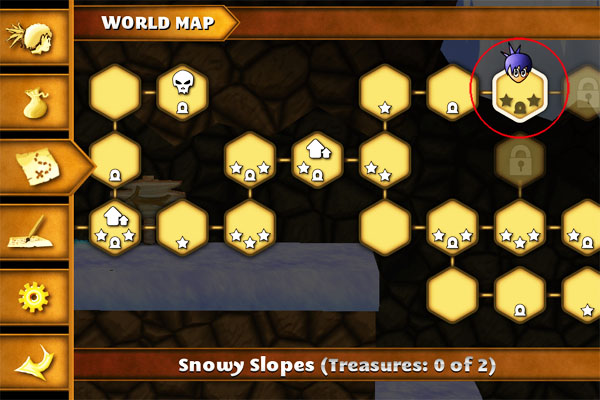
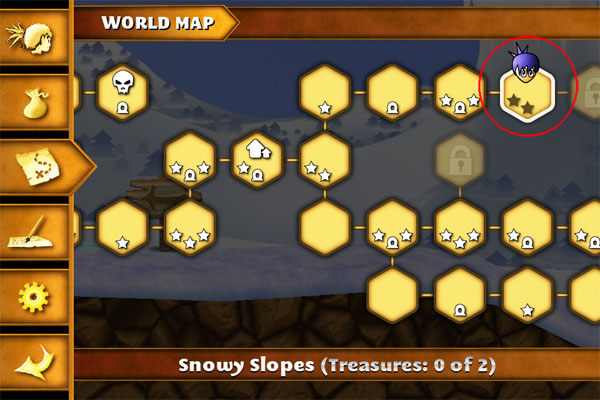
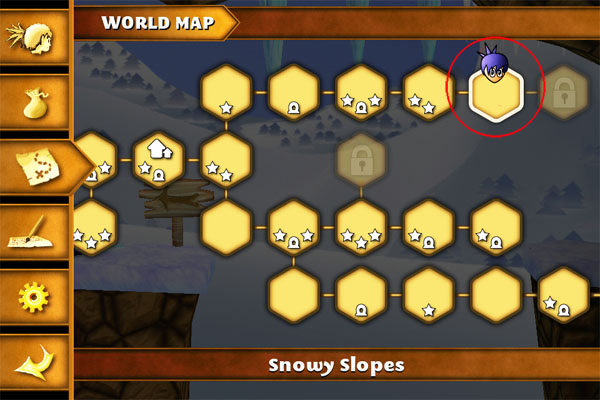
2 - Snowy Slopes
Screenshot
Go right and use your dragon's grasp to get on the ledge. Jump the ice boulders and continue up.
Screenshot
Bomb the wall and climb the ledges to get the coins.
Screenshot
The ledges drop after you land on them, so be quick.
Go out the way you came, climb the ice ledges and exit right to the Infested Cave.
Screenshot
Defeat the snow bugs and get the treasure, go back the way you came, and jump the ice ledges, making your way to the left.
Go up the ramps, jumping the ice boulders as you go. Activate the portal.
Speak to the gentleman and exit right to the Infested Gold Mine.
Navigate the ice ledges as you head right.
When you get to the wall, jump on the ledge then the ramp to the left.
Screenshot
Use your dragon's grasp to make your way up the ledges and get the sack of exp from the chest.
Screenshot
Drop back down and go left, through the open gate.
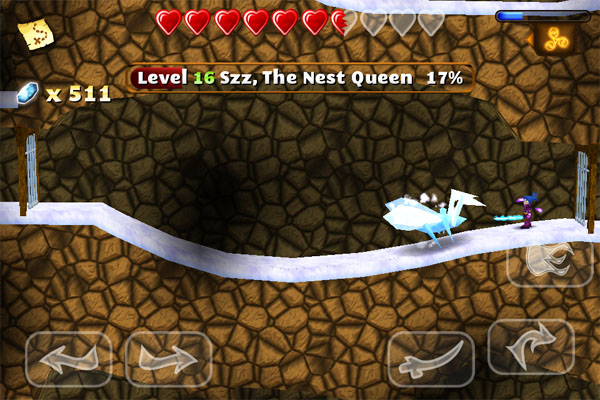
Defeat Szz, The Nest Queen.
Screenshot
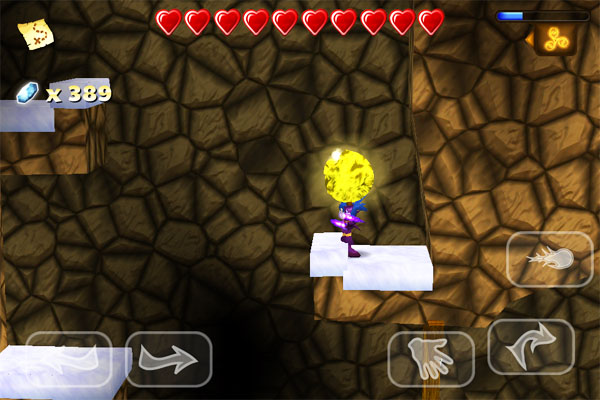
Pick up the gold and go left.
Jump to the ledge and jump and throw the gold to the next ledge. At the top ledge, leave the gold and defeat the snow bugs.
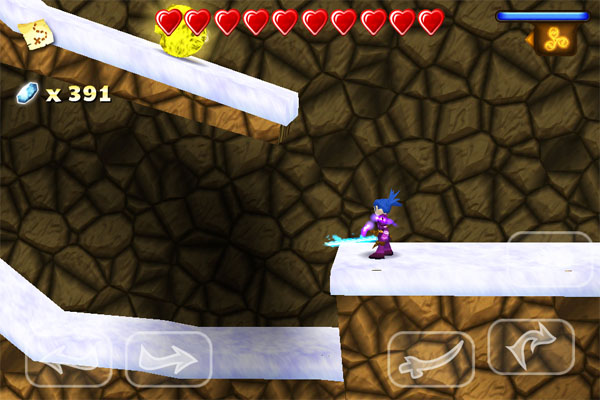
Screenshot
Pick up the gold and continue right. Throw the gold on the ramp, jump up after it, pick it up and do the same on the next ramp.
Screenshot
Jump on the ledges and throw the ball over to the landing. Jump after it and catch it quickly, or it might fall back down to the bottom.
Continue across the ramp, defeat the snow bugs and exit to the Snowy Slopes.
Go down the steps, give the gold to the gentleman and take the key.
Go left, unlock the gate, go up on the elevator and go right on the ramp.
Defeat the corrupted ice dwarves and exit right to the Snowy Slopes.
3 - Snowy Slopes
Screenshot
Go down and cross the ice ledges. Make your way up and left.
Screenshot
Get the treasure from the chest and continue up until you can jump on the ramp to the right.
Continue up until you get to the next ramp on the right.
Screenshot
Go down.
Enter the first opening on the right, go in and get the sack of exp from the chest.
Screenshot
Continue down and across the ledges. Exit it to the Snowy Slopes.
4 - Snowy Slopes
Screenshot
Go right across the ledges and make your way up.
Screenshot
Defeat the ice bats as you go.
Exit to the Snowy Summit.
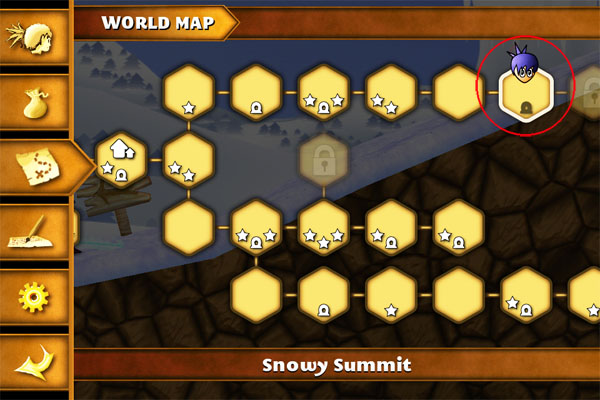
5 - Snowy Summit
Screenshot
Activate the portal and continue right to the Frozen Temple.
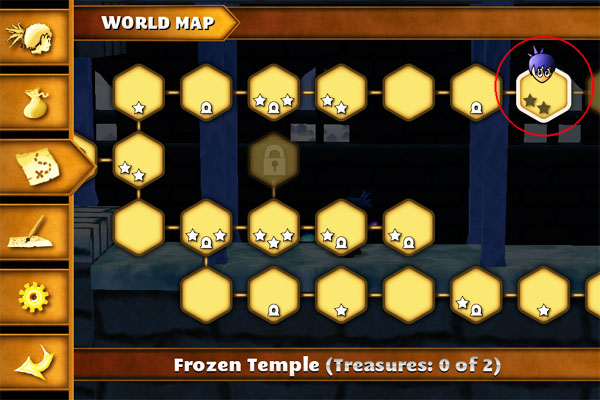
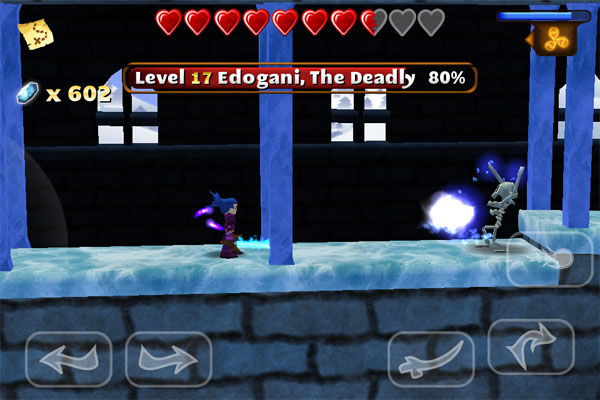
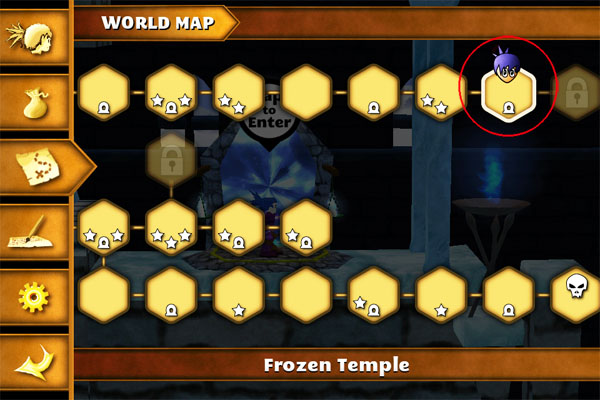
6 - Frozen Temple
Screenshot
Defeat Edogani, The Deadly and continue right.
Screenshot
Cross the ledges. Careful, they're slick.
Make your way up the ledges. The moving ice blocks will be your challenge here.
Screenshot
Exit right to the Frozen Temple.
Make your way up the ledges.
Screenshot
Get the key.
Jump to the ledge on the right that's hidden in shadow and get the sack of exp from the chest.
Screenshot
Make your way back down and exit left.
Go down, unlock the gate and exit right to the Frozen Temple.
Make your way up the icy ledges to the platform in the center, defeating ice bats as you go.
Screenshot
Hint: If you make your jumps dead on, you won't slide.
Go up the stairs on the left and get the treasure from the chest.
Screenshot
Jump back to the platform in the center, jump to the platform on the right and get the key.
Make your way down, defeat the frost mage, unlock the gate on the right and exit to the Frozen Temple.
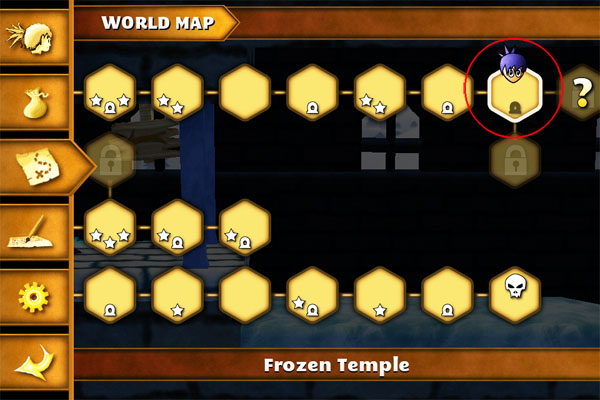
7 - Frozen Temple
Screenshot
Activate the portal.
Make your way across the icy platforms. They drop immediately upon landing on them.
Exit to the Frozen Temple.
8 - Frozen Temple
Screenshot
Take out the frost beetle and activate the portal.
Go left across the peaked ledges and exit to the Hall of Trials.
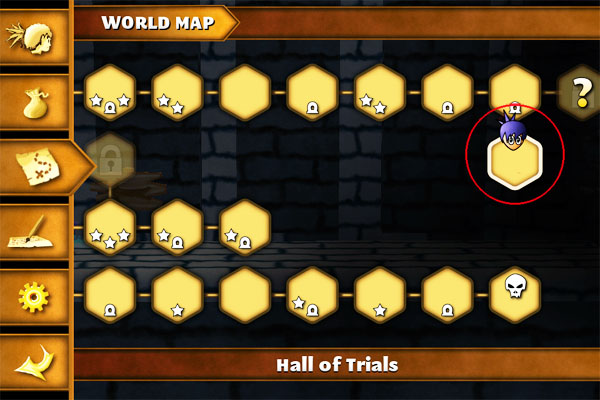
9 - Hall of Trials
Screenshot
Continue right, speak with the spirit and enter the dimension portal.
Continue right, take out the lesser corruptor, then go up and get 'the sign'.
Screenshot
Return to the spirit and get the dimension rift spell.
Return to the Frozen Temple.
Make your way back over the peaked ledges to the portal.
Jump on the ledge to the right, defeat the frost beetles and continue up.
Screenshot
When you get to the gate, use your dimension rift, strike the orb on the left wall, defeat the lesser corruptor and get the key.
Open the gate and exit to the Hall of the Dwarven Kings.
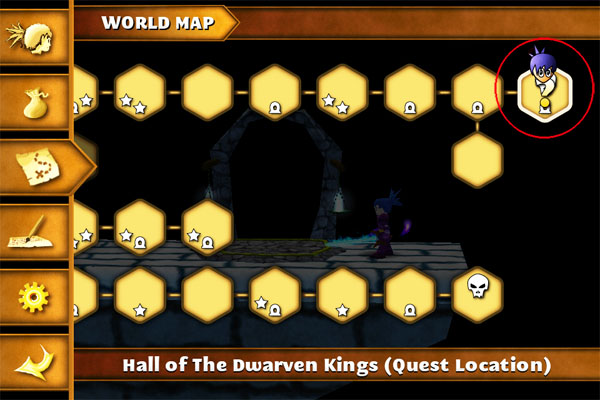
10 - Hall of the Dwarven Kings (Quest Location)
Screenshot
Activate the portal and go up the stairs.
Defeat the boss.
You have to get rid of his 'force shield' to do damage. Use the dimension rift, and you'll see two laser-like beams focused on him. Take out the source of the beams and he'll lose his shield...for a while. When the shield returns, go back in to rift dimension (if you, in fact, exited rift dimension) and strike the sources again.
Screenshot
Exit right and get the fourth shard of the mageblade.
Screenshot
Speak to the spirit and receive your last quest, The Chambers of Power
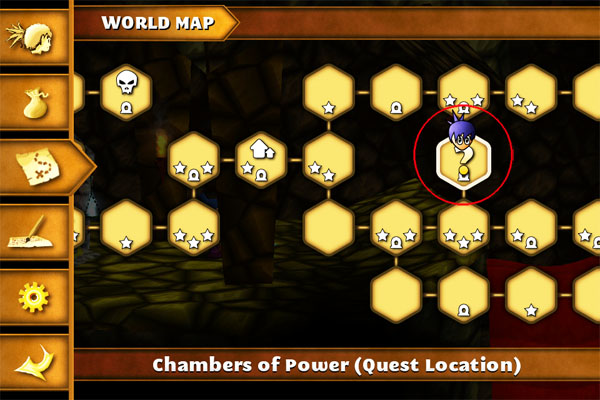
The Chambers of Power
Screenshot
Portal to the Great Caves.
Screenshot
Go left and exit to the Great Caves.
Screenshot
Keep going left and drop off the ledge.
Land on the 'center landing' and jump on the ramp to the right.
Screenshot
Enter the Chambers of Power and activate the portal.
Go right, wait for the floor to rise over the lava and continue on.
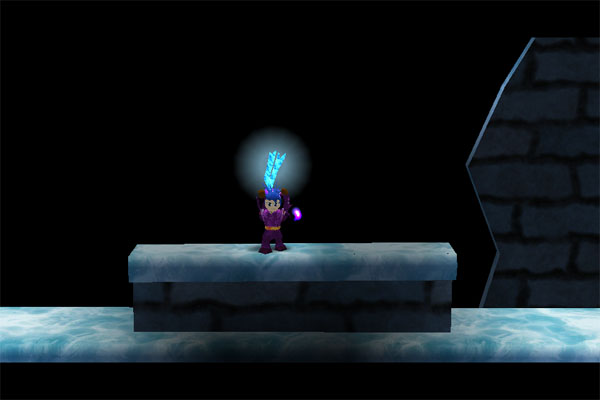
Stand on the platform, by the statues, and receive the reconstructed mageblade.
Screenshot
Return to the portal, speak with the spirit and receive the last quest, Destroy the Source of Corruption.
Destroy the Source of Corruption
Portal to Wellcliff Campsite.
Screenshot
Head down the path and exit to the Corrupted Grove.
1 - Corrupted Grove
Screenshot
Go right and defeat the corruptor.
Screenshot
Use dimension rift to see the path and take it.
Screenshot
Exit to World's End Keep
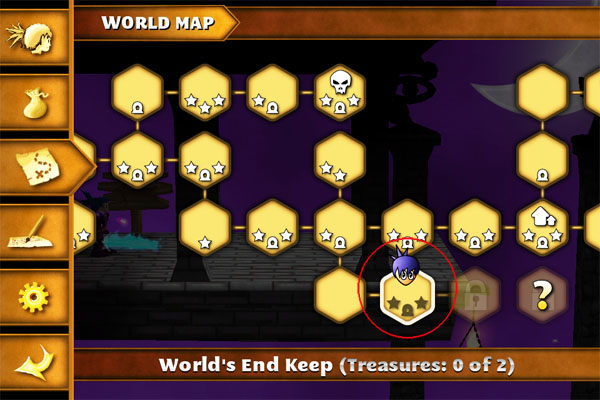
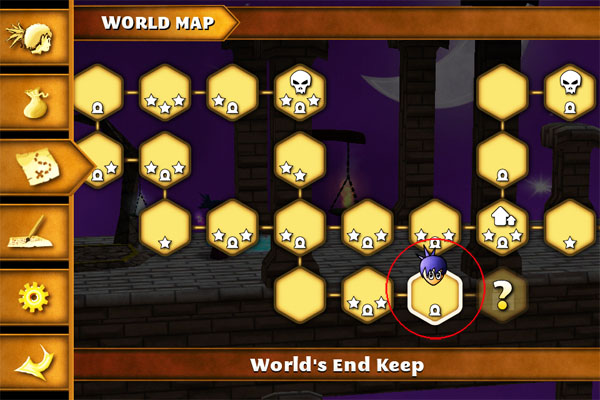
2 - World's End Keep
Screenshot
Activate the portal.
Jump across the ledges while avoiding the fireballs. Continue up, defeat the corruptor and get the key.
Jump to the ledge above the gate.
Screenshot
Use dimension rift, go up and get the key.
Screenshot
Drop down and unlock the gates, exit to World's End Keep.
Defeat the corruptor and exit to World's End Keep.
Make your way through the maze while batting away the fireballs (each time one hits you, you'll be teleported back to the beginning of the maze). Get the key.
Screenshot
Go through the rift gate, drop down and exit left, back to the World's End Keep.
When you pass the two statues, defeat the corruptors and use dragon's grasp to pull yourself up.
Screenshot
Upon landing on the first blob, immediately shoot the purple blob to the right and continue up. Land on either ledge, but continue left and enter the rift gate.
Avoid and strike the fire balls. Jump to the wall on the left and slide down, then exit to World's End Keep.
Screenshot
Continue left and push the crate so you can use it to jump to the chest. Don't push it all the way to the wall.
Screenshot
Get the treasure and sack of exp, drop down and push the crate right to the opening just past the elevator.
Screenshot
Jump up and exit right to World's End Keep.
Slay the corruptors and go to the end of the ramp.
Drop down and use dragon's grasp twice, once on the blob and once on the rift gate. Enter the rift gate.
Screenshot
Continue right, defeat the corruptor and exit to World's End Keep.
Take out a couple more corruptors and head over the ledges, passing under the gate. Make your way up to the chest and get the sack of exp.
Screenshot
Go back down, over to the gate, unlock it and enter the rift gate.
Go up the dropping ledges to the platforms, defeat the corruptors, exit right to World's End Keep.
Go across the platforms, defeat the corruptors. Once they're defeated, go down the ledges that appear.
Exit to World's End Keep.
Go across the ledges from left to right, entering each rift gate and get the key.
Screenshot
Go back across from right to left, entering each rift gate until you can jump up to the gate and unlock it. Exit to World's End Keep.
Go right through the falling columns, make your way up and over then use your dragon's grasp to reach the exit. Exit to World's End Keep.
3 - World's End Keep
Screenshot
Activate the portal.
Go to the left, drop down, continue right and exit to World's End Keep.
Make your way across the ramps and bridges, while avoiding the fireballs.
Screenshot
Jump through the rift gate.
Screenshot
Defeat the corruptor, then jump through the top rift gate.
Screenshot
Defeat the corruptor, then jump through the top-right rift gate.
Screenshot
Go right and defeat Bishop, The Destroyer. Jump through the rift gate that appears.
Go left over the ramps. Get the key and head up the ramp.
Jump on the mobile platform.
Screenshot
Hop down and exit left to World's End Keep.
Continue left, jump up, unlock the gate and exit to the Lair of Death.
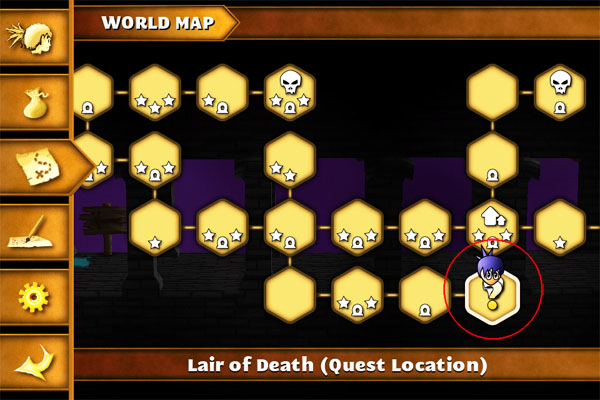
4 - Lair of Death (Quest Location)
Screenshot
Go to the right wall, then back through the columns, and you'll enter the rift to fight the boss.
Screenshot
You can fight in and/or out of the rift dimension. It's easier to damage him in the rift dimension, but you'll likely take more damage as well.
When he's defeated, jump through the rift gate.
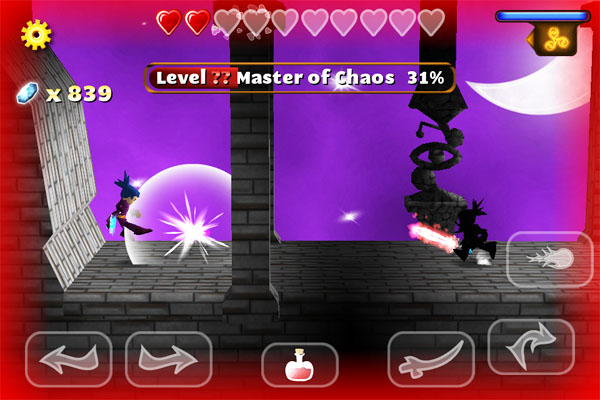
Strike the chaos stone until the Master of Chaos appears, then defeat him.
He can't seem to get past the last left column. If you stand on the other side of it and fight him from there, you'll stay in pretty good shape.
Screenshot
Congratulations. That's it. That's the end.
Walkthrough complete!
Posted by: Terri |
May 25, 2012 11:14 PM
|
May 25, 2012 11:14 PM